Helldivers 2: Top Loadouts vs. Illuminate
Author : Oliver
May 19,2025
Quick Links
The Illuminate faction in Helldivers 2 presents a unique challenge with their advanced technology and tactical prowess. They can overwhelm players with precision and sheer numbers, deploying both ground and aerial elite units while you're engaged with their lighter infantry. To triumph over them, you'll need to craft loadouts that exploit their vulnerabilities and shield against their formidable tech.
The key to success against the Illuminate lies in striking the perfect balance between weapons and stratagems that can handle both their light infantry and heavy armored units. Ignoring either type could leave you ill-equipped to face the full might of the Illuminate.
In this guide, we'll explore the best loadouts and builds designed to enhance your effectiveness against the Illuminate. Whether you're a seasoned player or just starting out, these strategies will help you tackle this challenging, squid-like faction head-on. Let's gear up and dive in.
The Laser Cannon Loadout: Melting the Illuminate
PLAS-1 Scorcher / PLAS-101 Purifier
GP-31 Grenade Pistol
G-13 Incendiary Impact
Siege-Ready
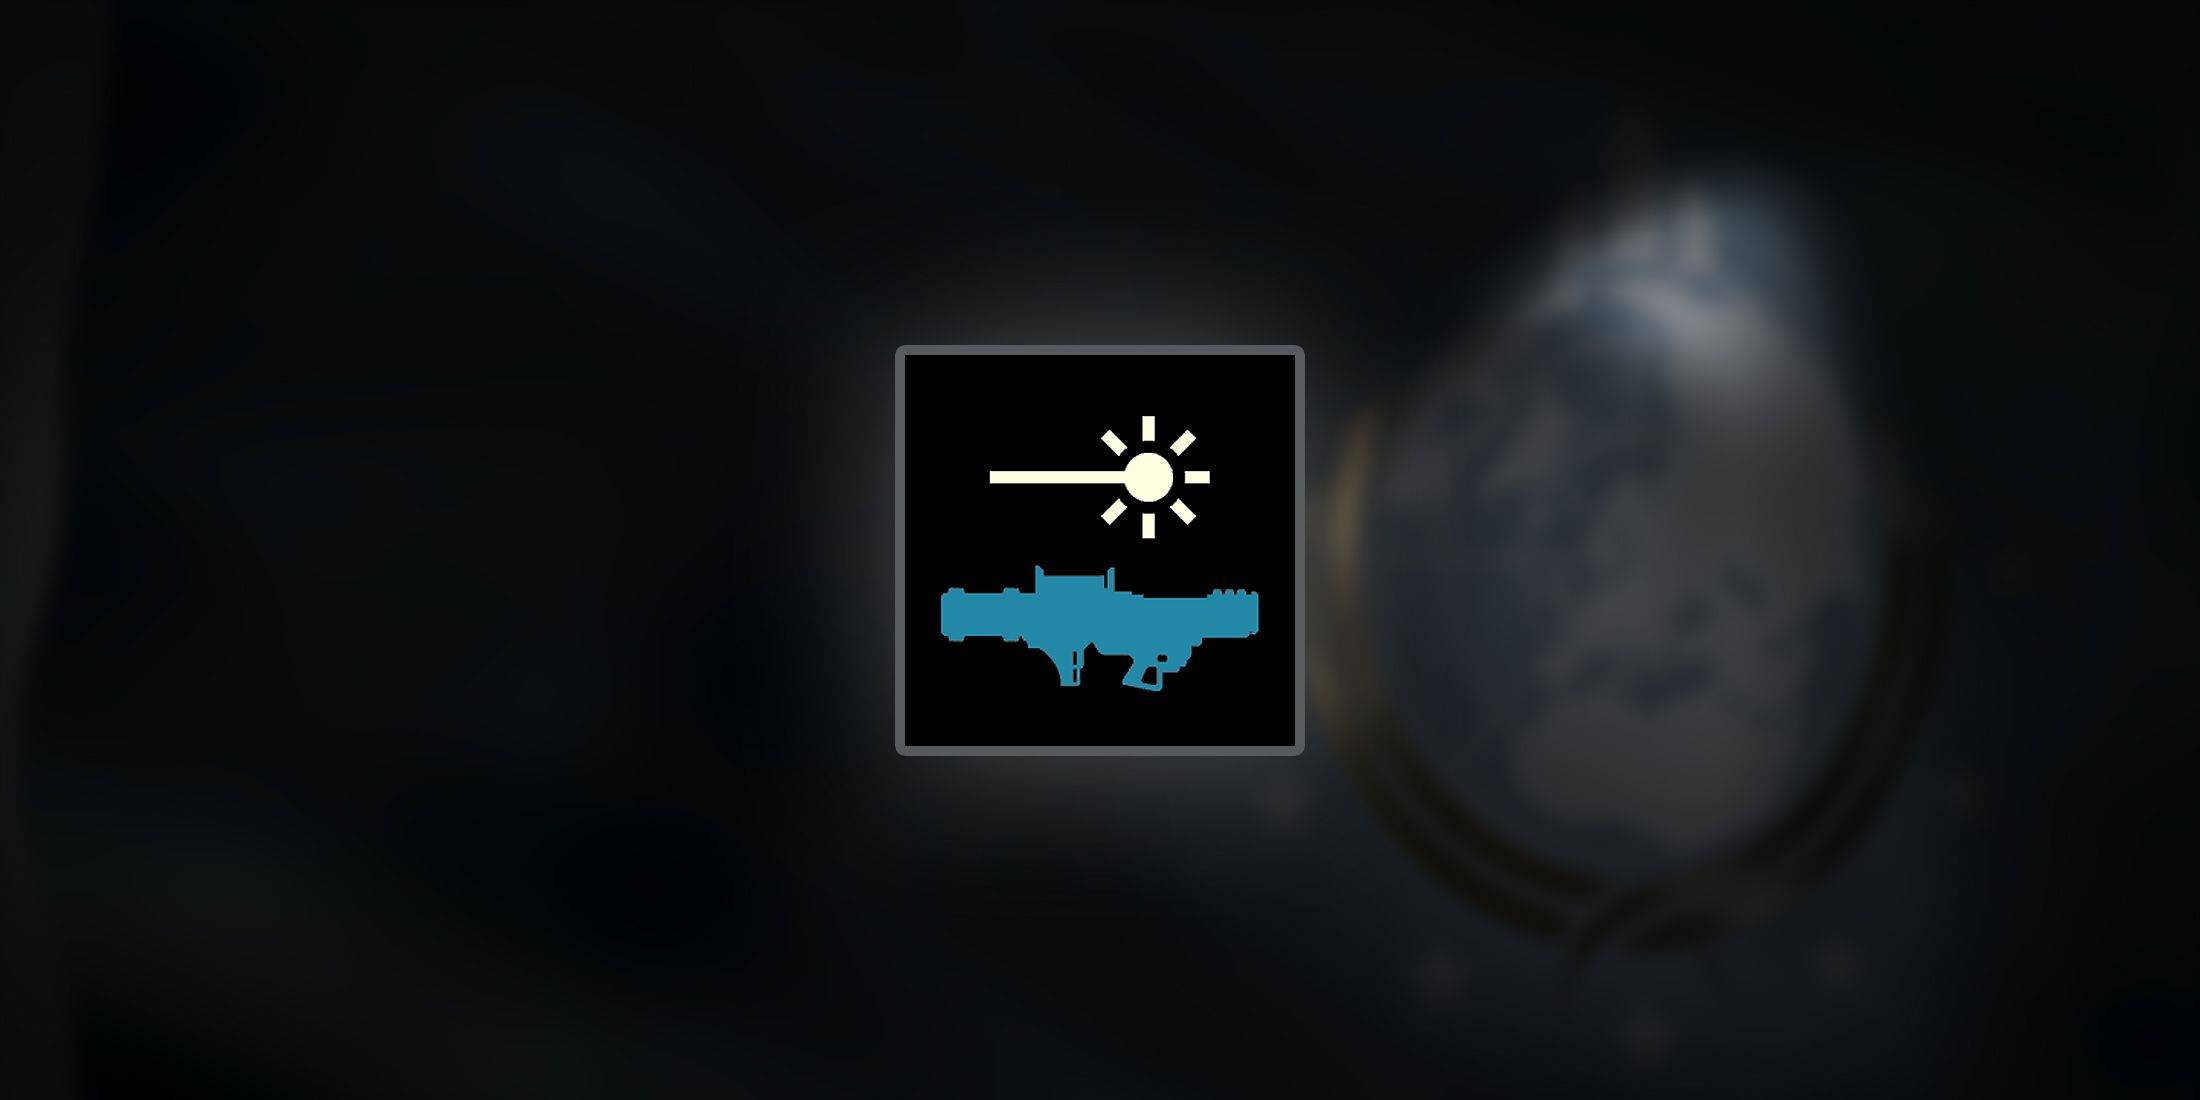
- LAS-98 Laser Cannon (Support)
- AX/AR-23 "Guard Dog"
- Eagle Strafing Run
- A/MG-43 Machine Gun Sentry / Orbital Laser
The PLAS-1 Scorcher and PLAS-101 Purifier stand out as some of the most effective primary weapons in Helldivers 2. These weapons excel at obliterating Overseers, including those with jetpacks, and are equally lethal against the Voteless. With the Siege-Ready armor passive, you gain additional ammunition and faster reloads, crucial for dealing with multiple high-priority targets. Their high damage per second ensures every shot counts when it matters most.
Combining the Eagle Strafing Run with the GP-31 Grenade Pistol creates a potent strategy for annihilating parked warp ships. Energy-based weapons struggle to deplete their shields, but a single Strafing Run can clear the shields of multiple grounded warp ships in a line. Following up with a grenade into their open bay doors will cause them to explode. This tactic is particularly useful when dealing with medium to heavy Illuminate nests requiring the destruction of several warp ships. While the G-13 Incendiary Impact can also be used to destroy warp ships, it's more effective against lighter enemies, making it ideal for crowd control.
The AX/AR-23 "Guard Dog" proves surprisingly effective against medium-armored Overseers. Each burst can take down a single elite unit, making it an excellent choice for protecting your flanks.
The A/MG-43 Machine Gun Sentry is perfect for securing areas during objective defense. If crowd control isn't your priority, you can swap it for an Orbital Laser, which is better suited for targeting Harvesters or future heavy units.
Finally, the LAS-98 Laser Cannon is the crowning jewel of this loadout. It can melt Overseers and chaff within seconds and is particularly effective against Harvesters. Use a Strafing Run to strip their shields, then target their weak points (thighs/eyes) with the Laser Cannon. A single clip is often enough if your aim is true. The weapon's long range allows you to engage enemies from a safe distance, making it an ideal anti-Illuminate tool. On higher difficulty levels where multiple Harvesters are common, an Orbital Laser becomes essential.
The Lightning Loadout: Shocking (& Staggering) the Illuminate
ARC-12 Blitzer
GP-31 Grenade Pistol
G-13 Incendiary Impact
Electrical Conduit / Med-Kit
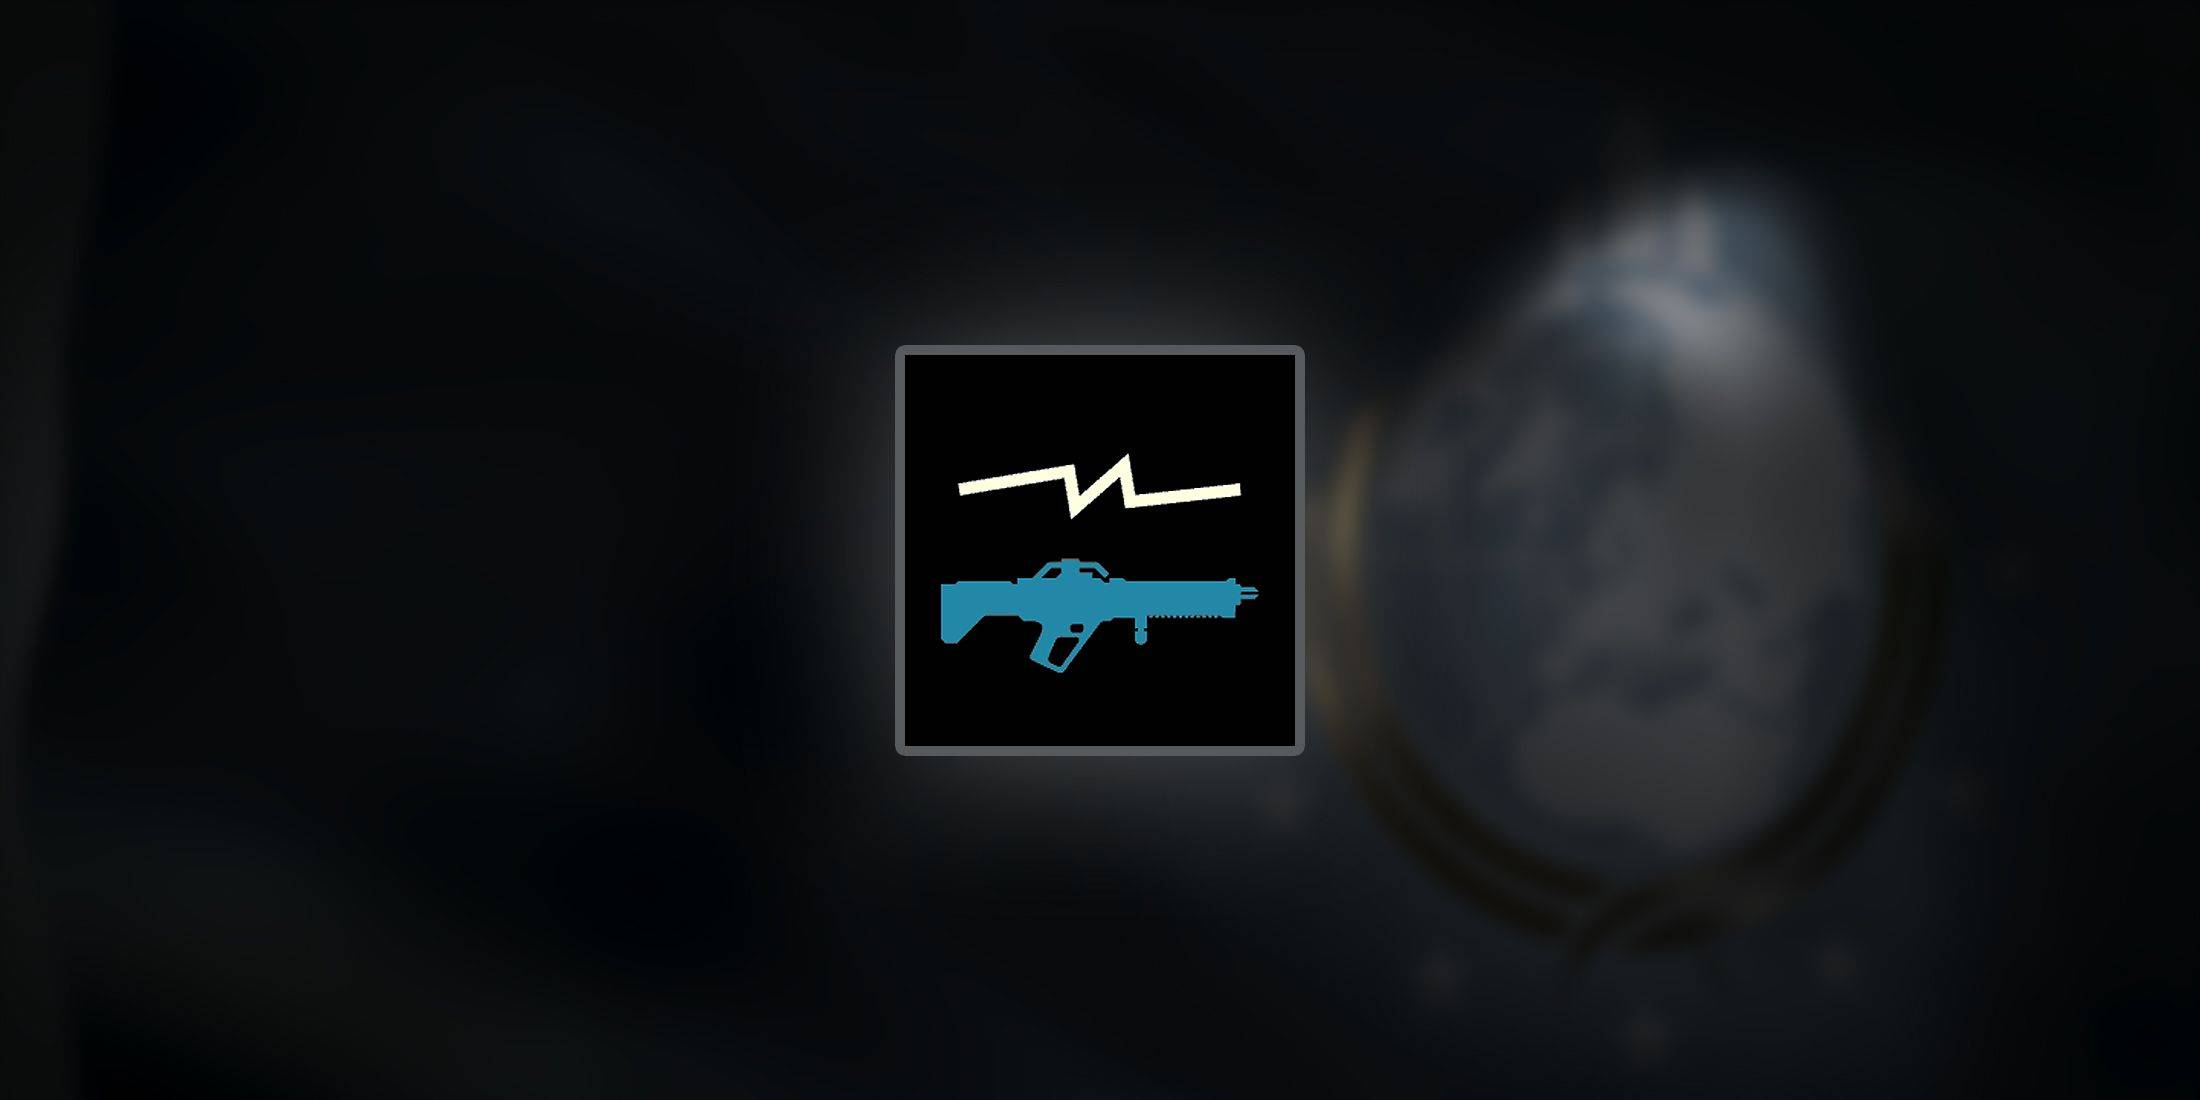
- ARC-3 Arc Thrower (Support)
- Orbital Railcannon Strike / Orbital Laser
- Eagle Strafing Run
- A/ARC-3 Tesla Tower
The ARC-12 Blitzer and ARC-3 Arc Thrower are perfect for tackling both the melee and ranged units of the Illuminate. They excel at eliminating lighter enemies, but the Arc Thrower's ability to chain and stagger is especially effective against Overseers, rendering them temporarily useless. Continuous attacks can keep Elevated Overseers permanently stunned in mid-air.
The Arc Thrower can also take down unshielded Harvesters with about a dozen hits, each causing a moderate stun that accumulates over time.
The A/ARC-3 Tesla Tower is incredibly effective against all Illuminate units, particularly flying Overseers, providing consistent crowd control and disruption. Combining it with the Arc Thrower maximizes your area control with multiple chained lightning attacks, ensuring priority targets don't get close enough to threaten your Tesla Tower.
Harvesters often target sentries, so avoid deploying your Tesla Tower or other sentry stratagems when they're in the vicinity.
The Eagle Strafing Run and GP-31 Grenade Pistol remain essential for dealing with parked warp ships, as the Blitzer and Arc Thrower struggle to deplete their shields during combat. Don't swap them out unless another teammate can handle this task.
For dealing with heavy units, the Orbital Railcannon Strike is invaluable due to its unlimited uses. The Orbital Laser can handle multiple Harvesters but is limited to three uses, requiring coordination with your team. Remember to use a Strafing Run to disable their shields first. This loadout is one of the most powerful against the Illuminate, especially when working with teammates.
The Machine Gun Loadout: Shredding the Illuminate
StA-52 Assault Rifle
GP-31 Grenade Pistol / CQC-19 Stun Lance
G-13 Incendiary Impact
Peak Physique / Engineering Kit
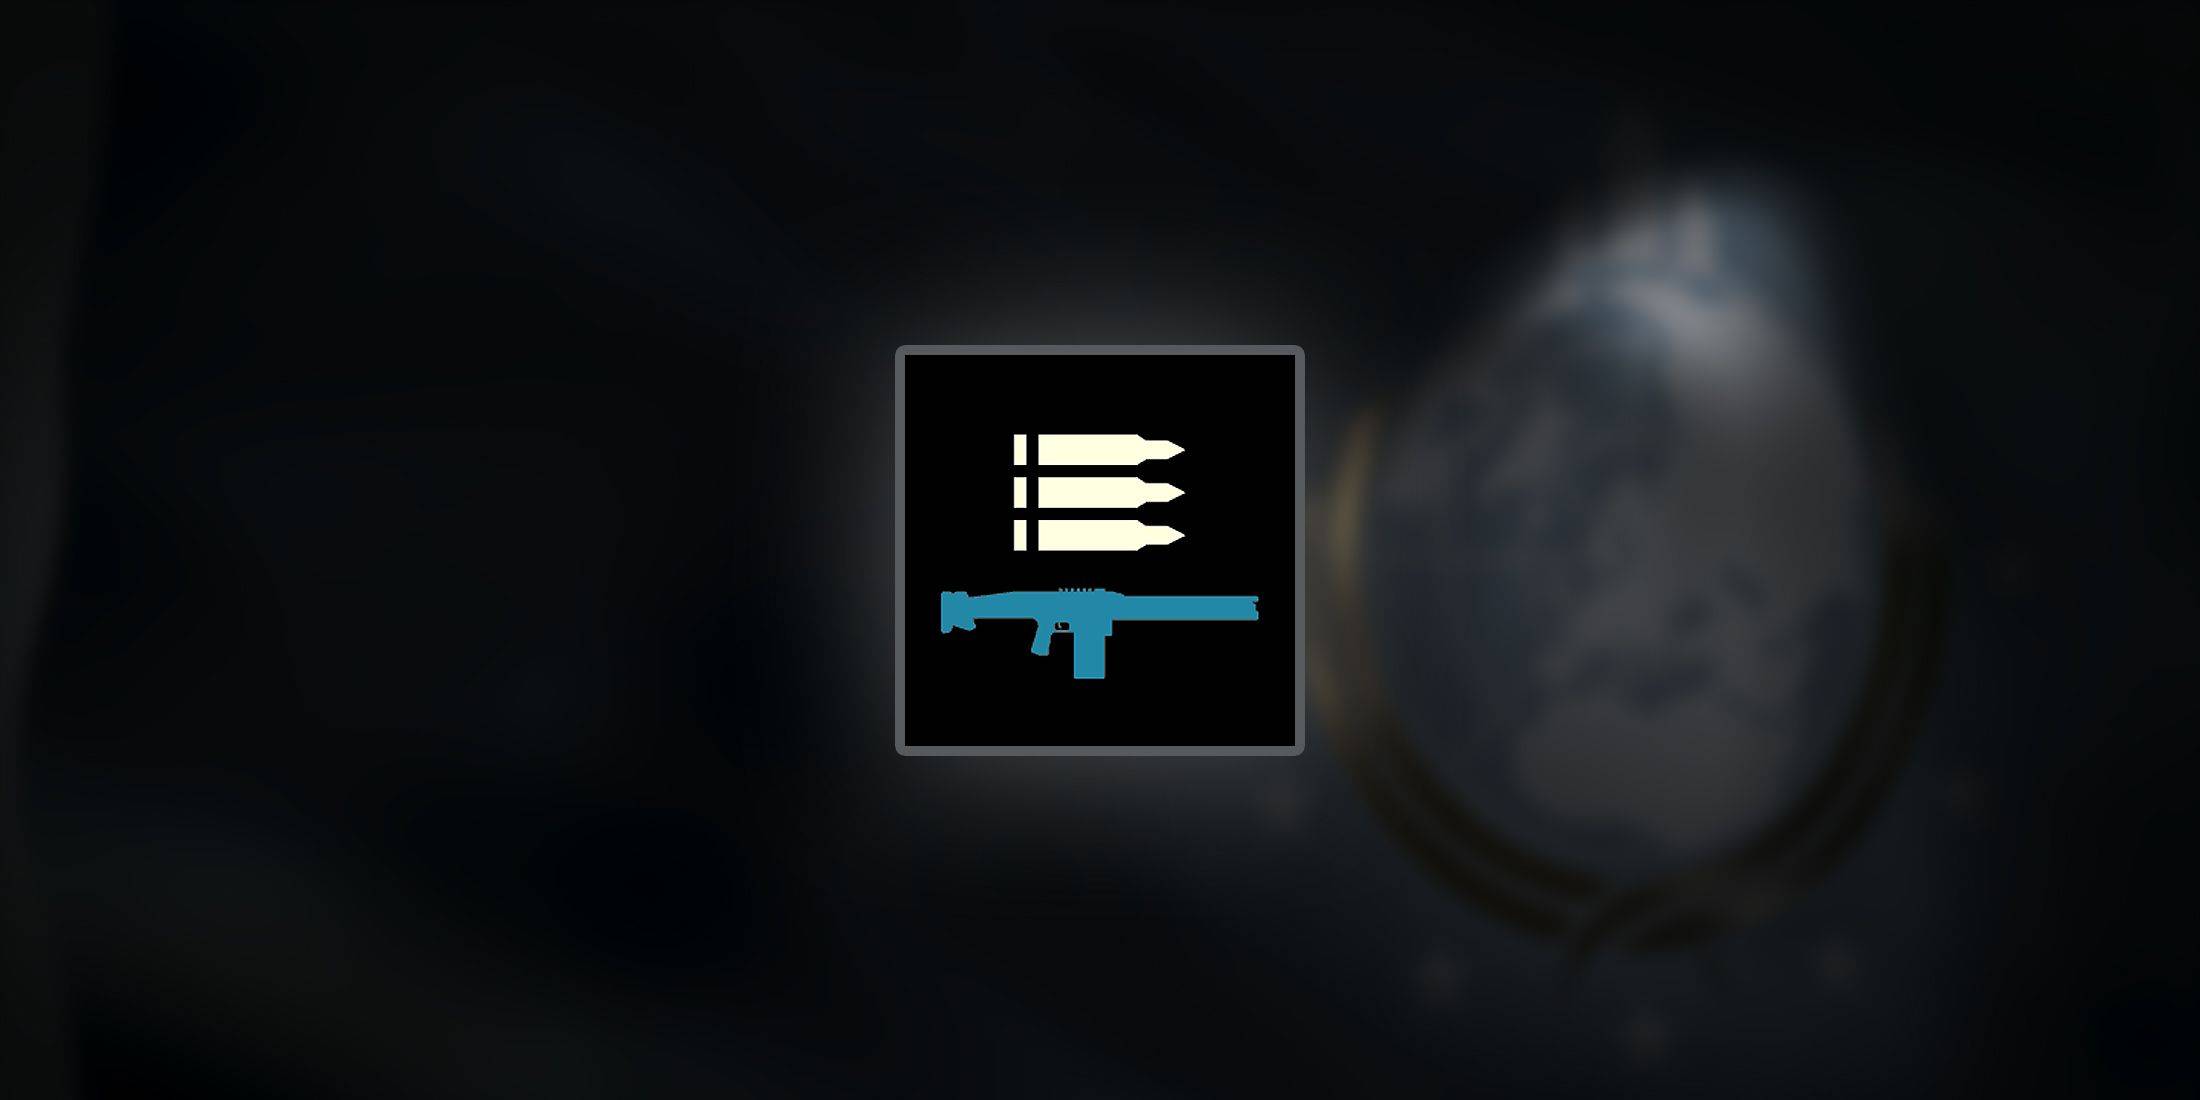
- MG-43 Machine Gun (Support)
- LIFT-850 Jump Pack
- Orbital Railcannon Strike / Orbital Laser
- A/MG-43 Machine Gun Sentry / A/G-16 Gatling Sentry
The MG-43 Machine Gun is incredibly versatile against the Illuminate, making it a standout choice in Helldivers 2. It efficiently shreds light and medium enemies, as well as Harvesters. Compared to the MG-206 Heavy Machine Gun, the standard Machine Gun offers better handling and faster infantry dispatch.
It's a true all-rounder against the squids, providing a great balance of power and reliability. Pair it with the Engineering Kit to reduce recoil or the Peak Physique armor passive to lessen drag, which helps in targeting flying units. The high fire rate also allows you to deplete shields, eliminating the need for the Eagle Strafing Run when destroying grounded warp ships. Instead, opt for turret sentries to manage large crowds or defend objectives.
The Machine Gun's stationary reload animation is a drawback, but the LIFT-850 Jump Pack helps you quickly reposition to safety and navigate urban maps more efficiently.
While the Machine Gun can handle Harvesters by targeting their weak spots, having an Orbital stratagem like the Orbital Laser or Railcannon Strike in your loadout is crucial for quickly dealing with multiple heavies. The Orbital Laser can manage two to three shielded Harvesters simultaneously, while the Railcannon Strike is best for unshielded targets.
For your primary weapon, consider the StA-52 Assault Rifle, a part of the Helldivers 2 x Killzone 2 crossover. It features a large drum magazine and provides sustained fire that penetrates light armor, matching the damage output of the standard Liberator.
Latest Articles

Pokemon Vending Machines: What's Inside and Locations
If you're a Pokemon fan active on social media, you've likely encountered conversations about Pokemon vending machines. As The Pokemon Company expands their rollout across the United States, fans have questions – and we have the answers.What Are Poke

Hatsune Miku Enters Toram Online MMORPG
Hatsune Miku enters the world of Toram OnlineExclusive collaboration outfits and avatars availableEvent start date: January 30thAsobimo, Inc. has revealed a new collaboration event for Toram Online, featuring the virtual pop sensation Hatsune Miku. T

World of Tanks Blitz to collab with AMC\'s TV version of The Walking Dead
The Walking Dead arrives in World of Tanks Blitz for a spine-chilling crossover eventThe adventure begins with Daryl Dixon leading the All Out War event, featuring exclusive collaboration rewardsDive into quests starring series icon Negan and experie
Godzilla Roars Into PUBG Mobile Battle
PUBG Mobile introduces Godzilla in its latest limited-time eventExclusive cosmetic collections featuring the iconic monster and his legendary rivals are now availableBattle alongside miniature Burning Godzilla and King Ghidorah companions through the

Play Together Unveils Massive In-Game Dinosaur Park
Haegin's latest update for Play Together unleashes a Dinosaur Park, transforming Kaia Island's favorite Camping Ground into a prehistoric paradise. Immerse yourself in a lush jungle setting filled with fossils, DNA experiments, and exciting events.Di
Rory McCann Stars as Baylan Skoll in Ahsoka Series
Star Wars Celebration has unveiled our first glimpse of Rory McCann in the role of Baylan Skoll for Ahsoka Season 2. For context, McCann is stepping into the part following the passing of Ray Stevenson.Though we haven't seen McCann's performance yet,
Latest Games

Braindom: Brain Games Test
Puzzle丨137.40M


Miga Town: My World
Puzzle丨48.60M

Monster Girl Legend Mod
Puzzle丨113.39M


Survivor Z: Zombie Survival
Action丨190.70M

Squad Alpha - Action Shooting
Action丨598.77M


Trending Games
MORE +


Top News
MORE +


01
01-16
Zenless Zone Zero Confirms Version 1.5 Special Program Livestream Date and Time
SummaryZenless Zone Zero revealed the start date for Version 1.5 "Astra-nomical Moment" on January 10 at 19:30 (UTC+8).Version 1.5 plans to add S-Rank characters Astra Yao and Evelyn Chevalier.Not much else is known about Version 1.5, though recent leaks have teased plenty of new content and events
02
01-21
Final Fantasy Updates Fix Controller Glitch
Patches for Final Fantasy VII Remake are now available on Steam, the Epic Games Store, and PlayStation 5. This update resolves issues with controller vibration motors. The game follows Cloud Strife, a former SOLDIER, as he joins Avalanche to prevent Shinra Electric Power Company from destroying th
03
04-18
"Jurassic World Rebirth Trailer Unveils Dinosaur Chaos Before Summer Release"
Jurassic World Rebirth made a roaring entrance during Super Bowl Sunday with a special trailer that showcased even more dinosaur action in anticipation of its July 2025 premiere. The latest footage features stars Scarlett Johansson and Mahershala Ali, who initially capture the audience's attention b
04
12-12
Immersive Adventure Awaits in 'In the Turquoise Moonglow' Update for Wuthering Waves
Wuthering Waves Version 1.2 Update: A Sneak Peek at "In the Turquoise Moonglow"
Get ready, Wuthering Waves players! Kuro Games is launching Phase One of the highly anticipated Version 1.2 update on August 15th. A new trailer reveals exciting additions, including a fresh Resonator, new weapons, ques
05
04-24
"Dune: Awakening Delay Extended by Three Weeks for Beta-Inspired Changes"
Dune: Awakening, the highly anticipated open-world survival MMO inspired by Frank Herbert's iconic sci-fi novels and Denis Villeneuve's films, has been pushed back to a new release date of June 10, 2025. Funcom, the game's developer, announced this delay alongside an exciting early access opportunit
Topics
More +