Ultimate Tower Blitz: Eternal Tier List Update
Author : Leo
May 29,2025
If you're diving into *Tower Blitz*, you'll soon discover that each tower brings something unique to the battlefield. Starting with just one type of tower, you'll gradually unlock more, each with its own set of strengths and weaknesses. To optimize your gameplay, we've compiled a comprehensive tier list of all the towers in the game. From S-Tier (the absolute best) to D-Tier (not so helpful), these rankings are based on their abilities, cost, effectiveness, and versatility across different paths and difficulty levels.
Whether you're a casual player or a seasoned strategist, understanding these tiers will help you build the perfect lineup tailored to your playstyle. Let’s break it down:
All Towers In *Tower Blitz* Ranked
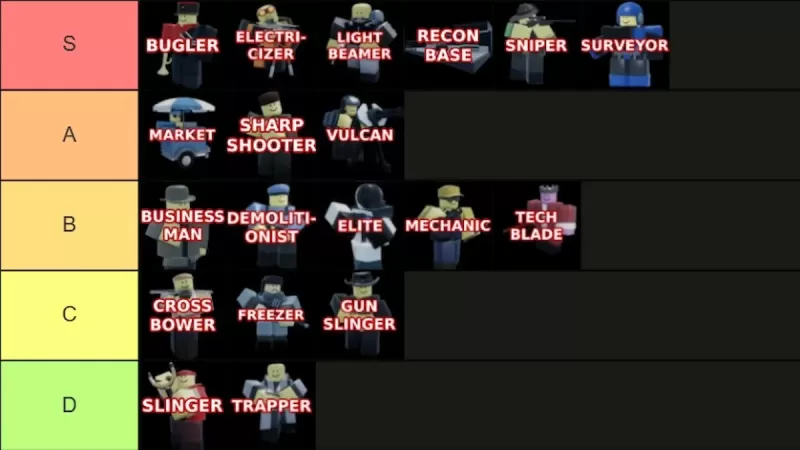
Image by The Escapist.
We’ve sorted the towers from **S-Tier** (the best of the best) to **D-Tier** (the least effective). S-Tier towers are virtually guaranteed to secure a victory when used correctly, while D-Tier towers are mostly situational at best. Read on for detailed explanations and insights into each category.
S-Tier Towers
| Tower | Cost | Explanation | Pros and Cons |
|---|---|---|---|
 |
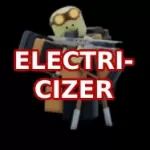
To unlock: **2500 Tokens** (Level 25) To place: **750 Cash** | A support tower that works wonders in Expert mode. Pair it strategically with other towers to maximize its potential. Note: Bugler cannot buff Recon Bases. |
+ Boosts all other towers' performance + Essential in Expert mode – Exclusive support function |
 |
To unlock: **5500 Tokens** To place: **3800 Cash** | One of the most powerful towers in the game. With immense range and damage, it excels when placed near the end of the map. It’s both a damage-dealing and support-oriented tower. |
+ Massive power and range + Dual-purpose (damage & support) – High cost |
A-Tier Towers
| Tower | Cost | Explanation | Pros and Cons |
|---|---|---|---|
 |
To unlock: **1000 Tokens** To place: **650 Cash** | A solid all-around tower, but tricky to master. Top path is recommended for maximum profitability. |
+ Profitable + Useful in multiplayer – Weak bottom path – Slow earnings at first |
B-Tier Towers
| Tower | Cost | Explanation | Pros and Cons |
|---|---|---|---|
 |
To unlock: **Complete the contract** To place: **800 Cash** | Offers both income generation and damage output, but lacks the versatility of higher-tier towers. |
+ Makes money and deals damage + Decent early-game option – Easily replaceable |
C-Tier Towers
| Tower | Cost | Explanation | Pros and Cons |
|---|---|---|---|
 |
To unlock: **200 Tokens** To place: **400 Cash** | A decent starting tower for beginners, but struggles to perform beyond the early game. |
+ Affordable, early-game friendly – Weak damage output – Limited usefulness post-early game |
D-Tier Towers
| Tower | Cost | Explanation | Pros and Cons |
|---|---|---|---|
 |
To unlock: **Free** To Latest Articles
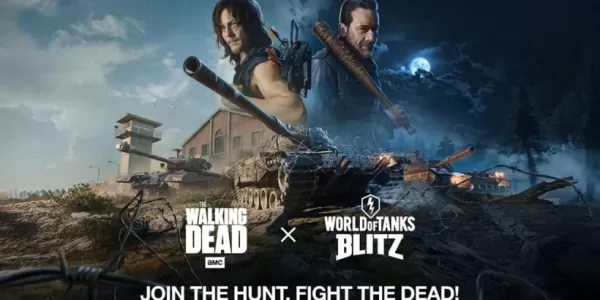
World of Tanks Blitz to collab with AMC\'s TV version of The Walking Dead
The Walking Dead arrives in World of Tanks Blitz for a spine-chilling crossover eventThe adventure begins with Daryl Dixon leading the All Out War event, featuring exclusive collaboration rewardsDive into quests starring series icon Negan and experie
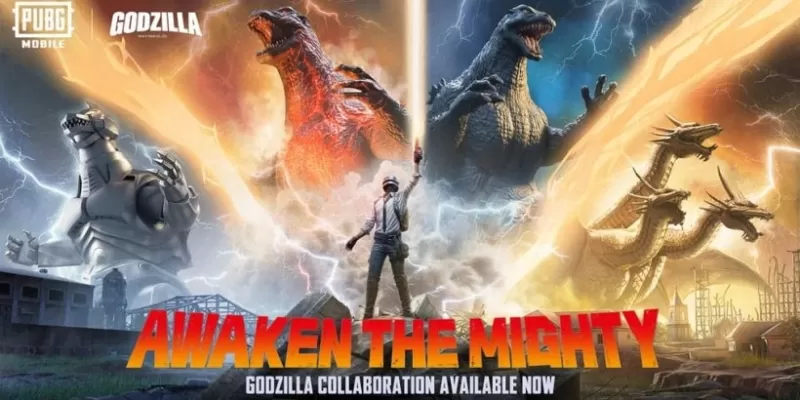
Godzilla Roars Into PUBG Mobile Battle
PUBG Mobile introduces Godzilla in its latest limited-time eventExclusive cosmetic collections featuring the iconic monster and his legendary rivals are now availableBattle alongside miniature Burning Godzilla and King Ghidorah companions through the
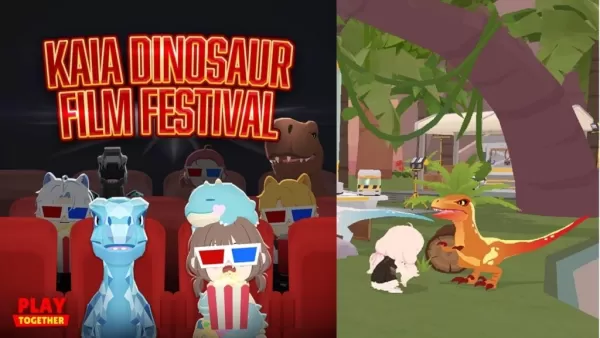
Play Together Unveils Massive In-Game Dinosaur Park
Haegin's latest update for Play Together unleashes a Dinosaur Park, transforming Kaia Island's favorite Camping Ground into a prehistoric paradise. Immerse yourself in a lush jungle setting filled with fossils, DNA experiments, and exciting events.Di
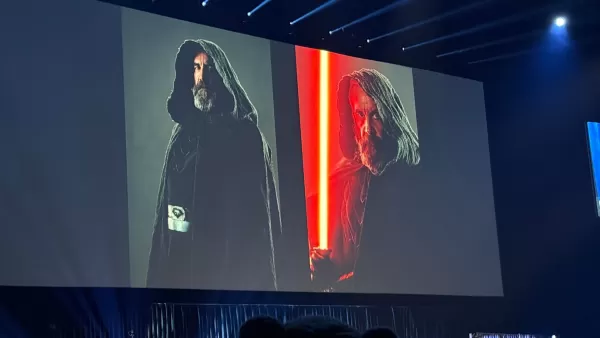
Rory McCann Stars as Baylan Skoll in Ahsoka Series
Star Wars Celebration has unveiled our first glimpse of Rory McCann in the role of Baylan Skoll for Ahsoka Season 2. For context, McCann is stepping into the part following the passing of Ray Stevenson.Though we haven't seen McCann's performance yet,
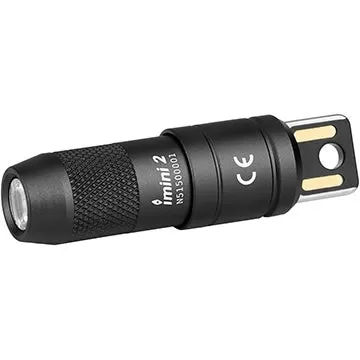
$14 Mini Keychain Flashlight – Rechargeable
Olight IMINI 2 EDC 50-Lumen Rechargeable Keychain Flashlight$19.99 save 30% $13.99 at AmazonThe ultra-compact Olight IMINI2 makes emergency lighting accessible at just 2 inches long and weighing barely half an ounce. Its durable anodized aluminum hou
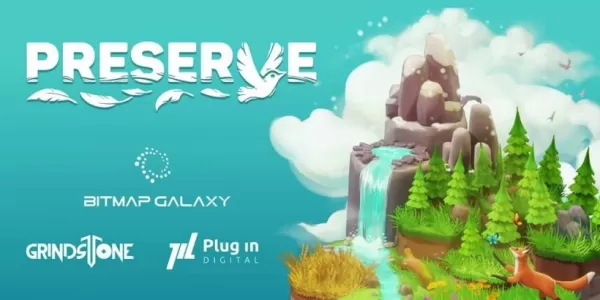
Preserve is an environmentalist puzzler that challenges you to restore the environment
Preserve blends gameplay elements from Dorfromantik and Quilts & Cats of Calico, bringing them seamlessly to mobile devices.Immerse yourself in world restoration by strategically placing animals and natural landscapes.Unlock classic, creative, and pu
Latest Games

Hitomi's Sick Pleasure
Casual丨597.60M
Ghoul Slot SE
Card丨9.90M

1000 words
Puzzle丨39.60M
Dragon Wings - Space Shooter
Action丨139.90M

Phobies: PVP Monster Battle
Card丨426.80M
Top News
MORE +
01
01-16
Zenless Zone Zero Confirms Version 1.5 Special Program Livestream Date and Time
SummaryZenless Zone Zero revealed the start date for Version 1.5 "Astra-nomical Moment" on January 10 at 19:30 (UTC+8).Version 1.5 plans to add S-Rank characters Astra Yao and Evelyn Chevalier.Not much else is known about Version 1.5, though recent leaks have teased plenty of new content and events
02
01-21
Final Fantasy Updates Fix Controller Glitch
Patches for Final Fantasy VII Remake are now available on Steam, the Epic Games Store, and PlayStation 5. This update resolves issues with controller vibration motors. The game follows Cloud Strife, a former SOLDIER, as he joins Avalanche to prevent Shinra Electric Power Company from destroying th
03
04-18
"Jurassic World Rebirth Trailer Unveils Dinosaur Chaos Before Summer Release"
Jurassic World Rebirth made a roaring entrance during Super Bowl Sunday with a special trailer that showcased even more dinosaur action in anticipation of its July 2025 premiere. The latest footage features stars Scarlett Johansson and Mahershala Ali, who initially capture the audience's attention b
04
04-24
"Dune: Awakening Delay Extended by Three Weeks for Beta-Inspired Changes"
Dune: Awakening, the highly anticipated open-world survival MMO inspired by Frank Herbert's iconic sci-fi novels and Denis Villeneuve's films, has been pushed back to a new release date of June 10, 2025. Funcom, the game's developer, announced this delay alongside an exciting early access opportunit
05
12-12
Immersive Adventure Awaits in 'In the Turquoise Moonglow' Update for Wuthering Waves
Wuthering Waves Version 1.2 Update: A Sneak Peek at "In the Turquoise Moonglow"
Get ready, Wuthering Waves players! Kuro Games is launching Phase One of the highly anticipated Version 1.2 update on August 15th. A new trailer reveals exciting additions, including a fresh Resonator, new weapons, ques
Topics
More +
|