Dragon Quest 3 Remake: Zoma\'s Citadel Walkthrough
Author : Nicholas
Feb 08,2025
Conquer Zoma's Citadel in Dragon Quest 3 Remake: A Comprehensive Guide
This guide provides a complete walkthrough of Zoma's Citadel in Dragon Quest 3 Remake, including treasure locations and strategies for defeating each boss. After the epic journey through Alefgard, the final challenge awaits.
Reaching Zoma's Citadel
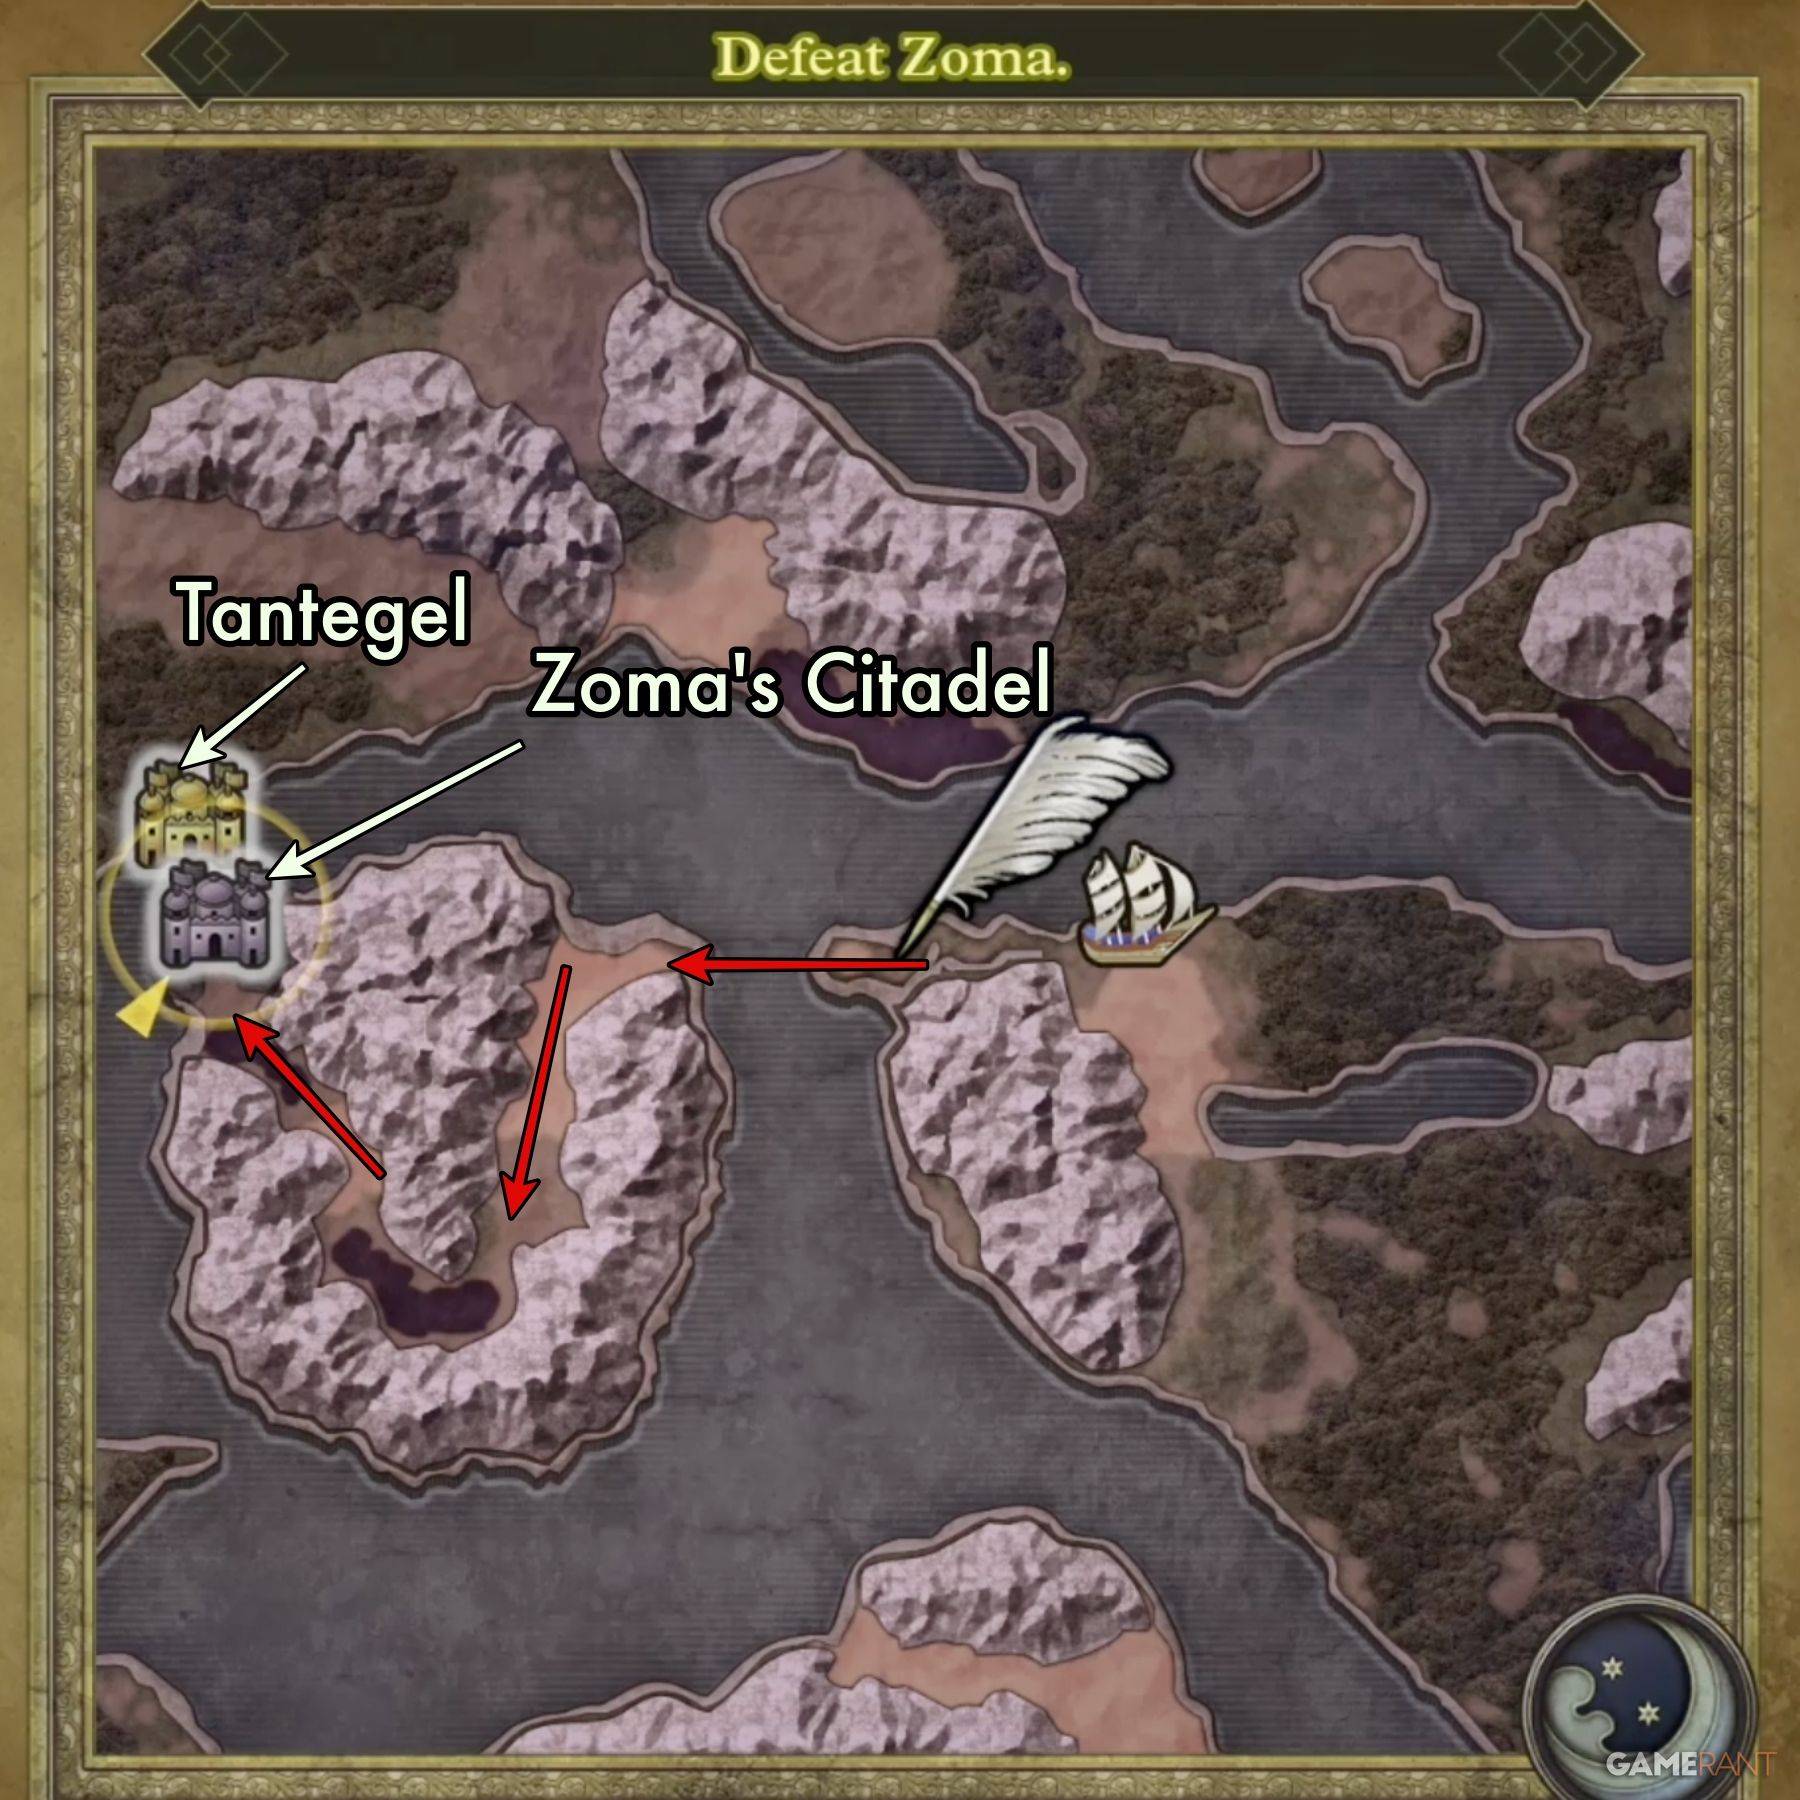
Following Baramos's defeat, you'll enter the shadowed world. To access Zoma's Citadel, you need the Rainbow Drop, crafted from:
- Sunstone: Found in Tantegel Castle.
- Staff of Rain: Located in the Shrine of the Spirit.
- Sacred Amulet: Received from Rubiss after rescuing her in the Tower of Rubiss (requires the Faerie Flute).
Combine these items to create the Rainbow Bridge, your path to the citadel.
Zoma's Citadel 1F Walkthrough

Navigate the first floor to reach the throne in the north. This triggers a hidden passage. Explore side chambers for treasure:
- Treasure 1 (Buried): Mini Medal (behind the throne).
- Treasure 2 (Buried): Seed of Magic (near the electrified panel).
Prepare for a challenging encounter with Living Statues in the central chamber.
Zoma's Citadel B1 Walkthrough
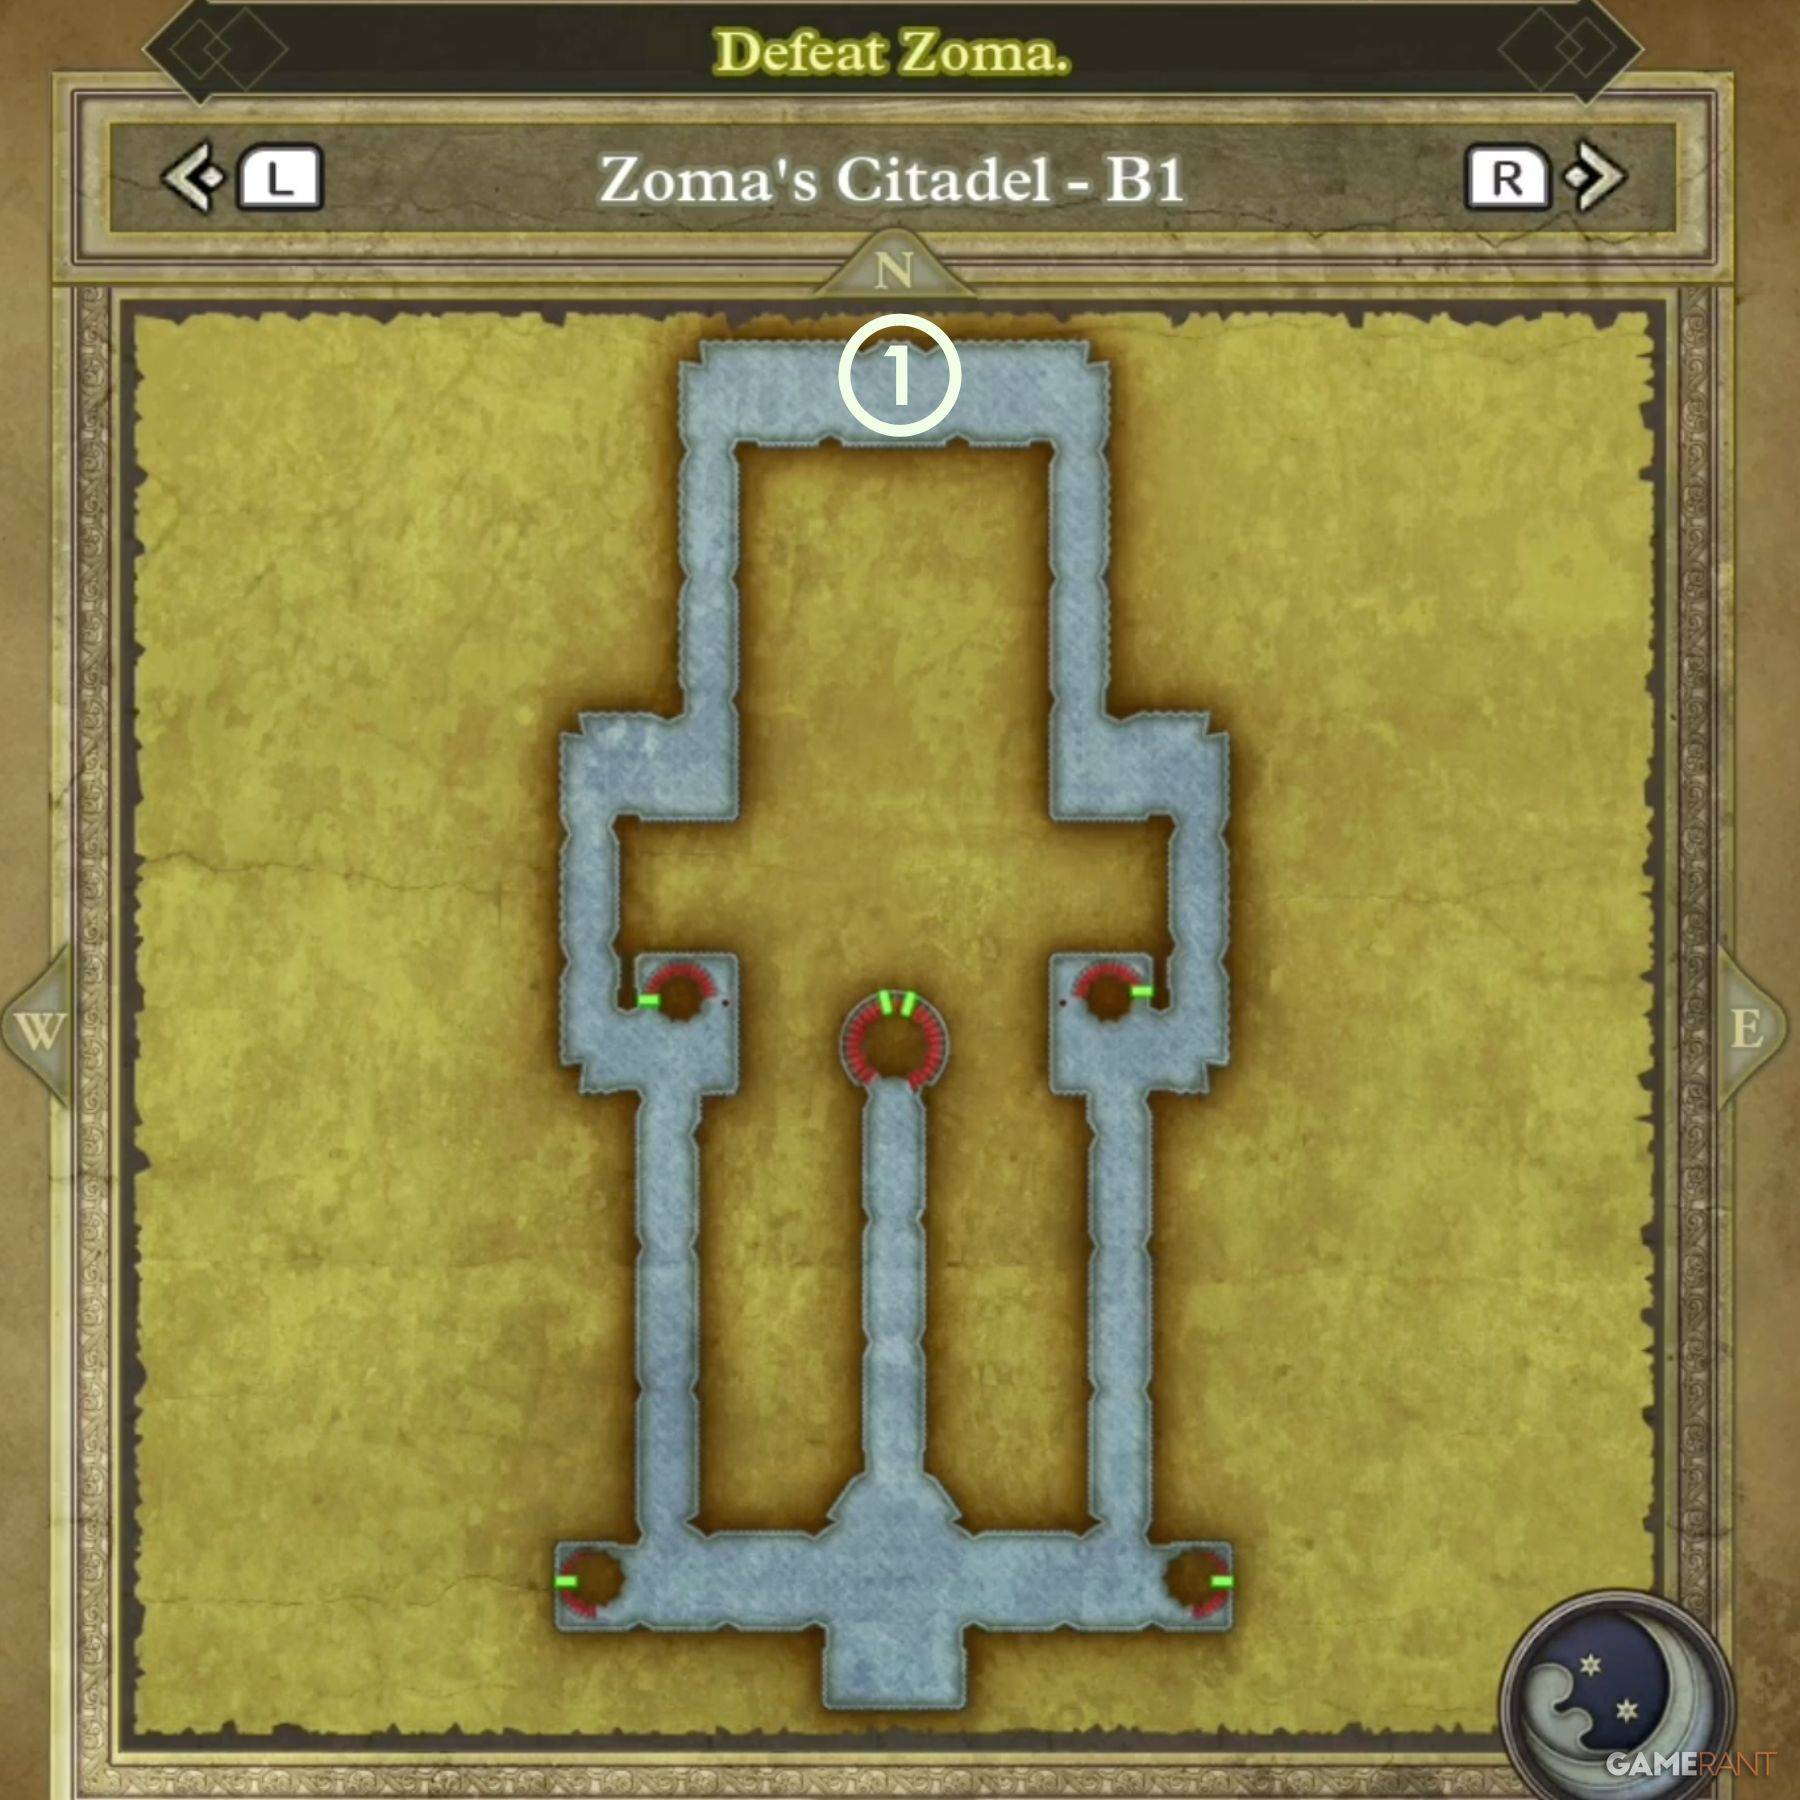
B1 offers a single treasure chest:
- Treasure 1 (Chest): Hapless Helm
Zoma's Citadel B2 Walkthrough
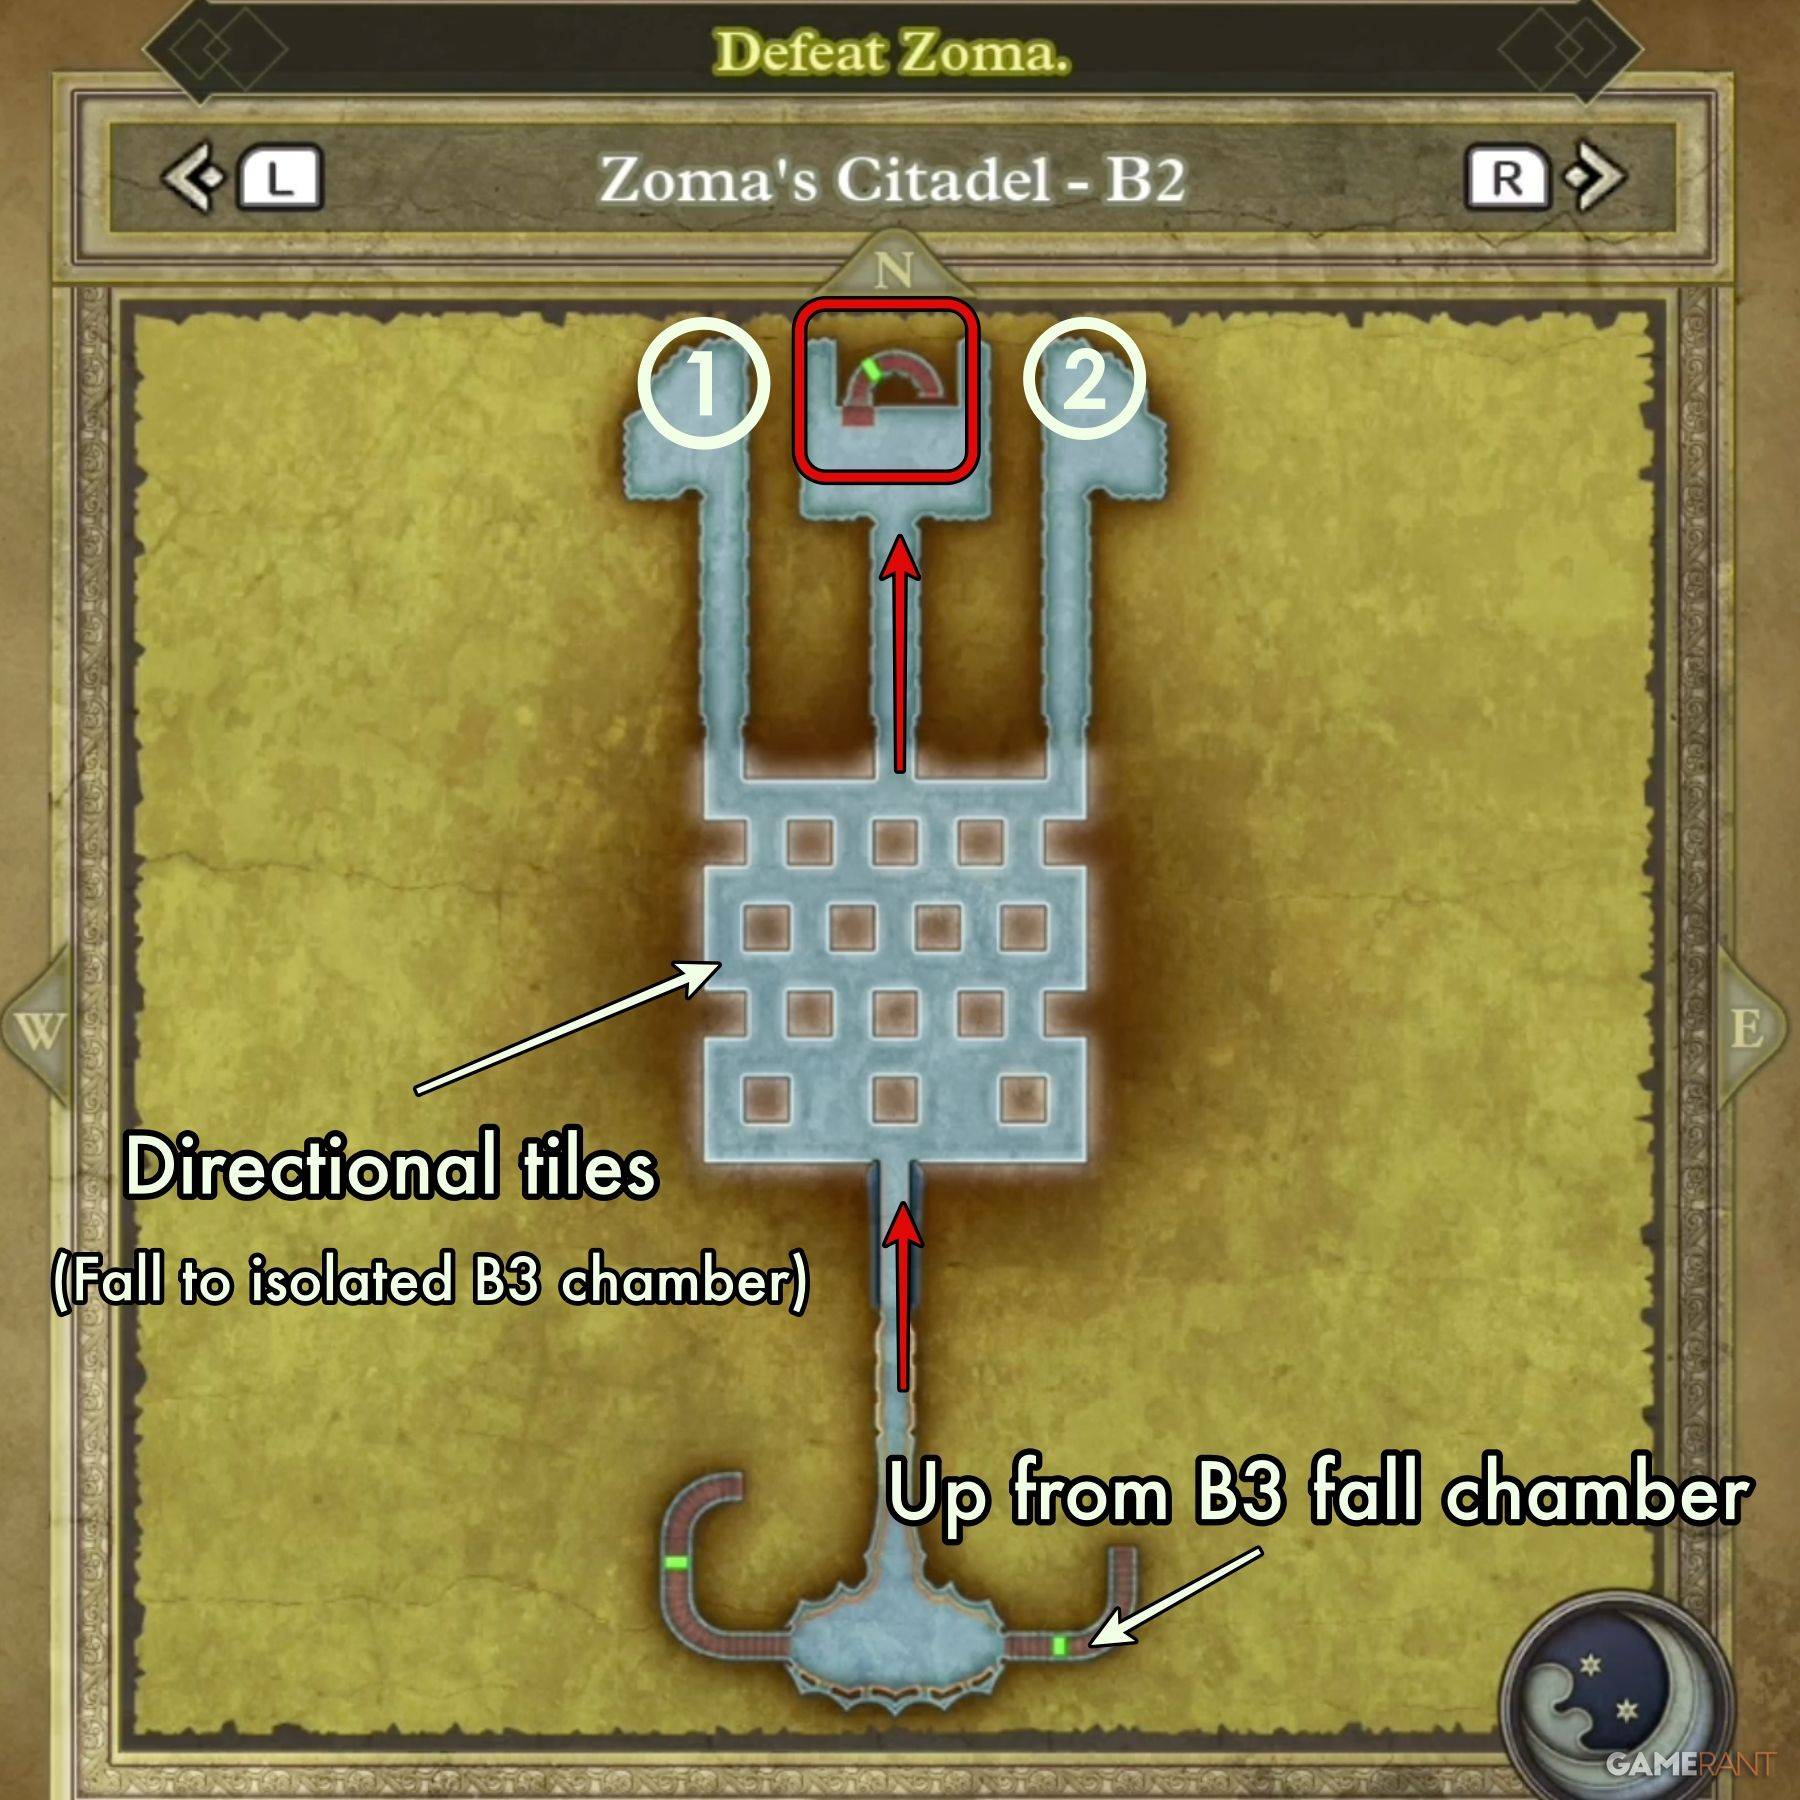
This floor features directional tiles. Mastering this puzzle is crucial. Practice on similar tiles in the Tower of Rubiss (3rd floor, NW corner) if needed. The key is understanding the color-coded directional inputs.
- Blue: North (left/right D-pad based on blue tile position).
- Orange: South (left/right D-pad based on orange tile position).
- Orange Arrow: East/West (up/down D-pad based on arrow direction).
Treasure on B2:
- Treasure 1 (Chest): Scourge Whip
- Treasure 2 (Chest): 4,989 Gold Coins
Zoma's Citadel B3 Walkthrough
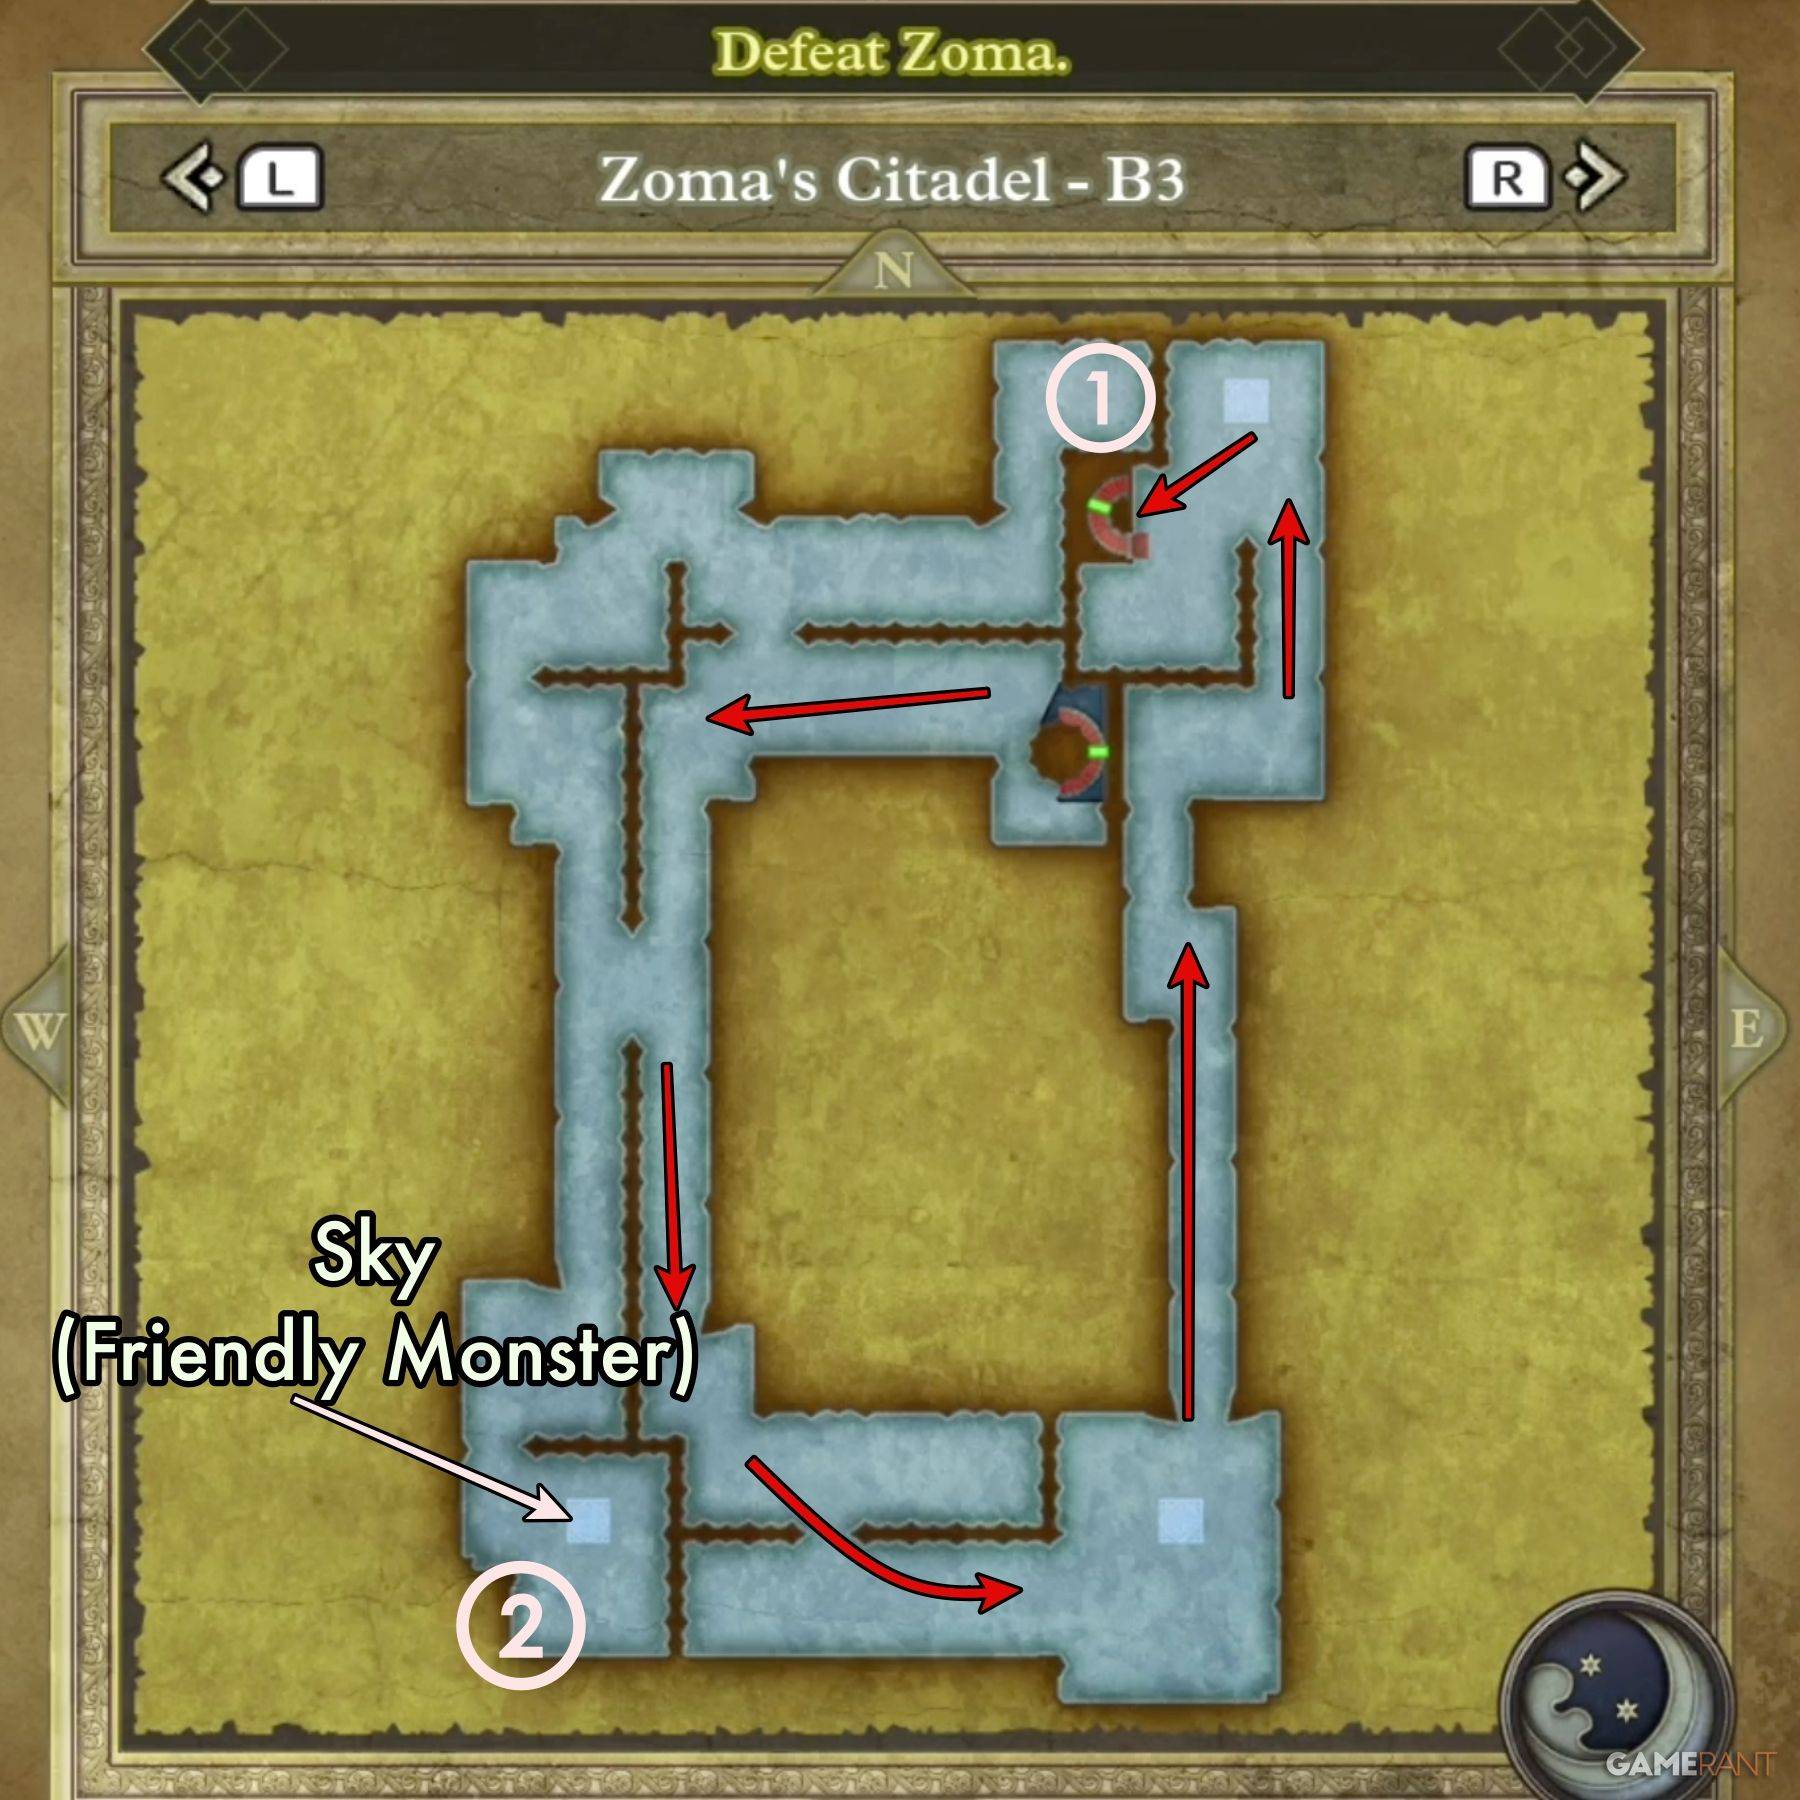
The main path circles the chamber. A detour to the southwest reveals Sky, a friendly monster. A separate isolated chamber (accessible via B2's pitfalls) contains another friendly monster and a chest:
- Treasure 1 (Chest): Bastard Sword (Isolated Chamber)
- Treasure 2 (Chest): Dragon Dojo Duds (Main Chamber)
- Treasure 3 (Chest): Double-Edged Sword (Main Chamber)
Zoma's Citadel B4 Walkthrough
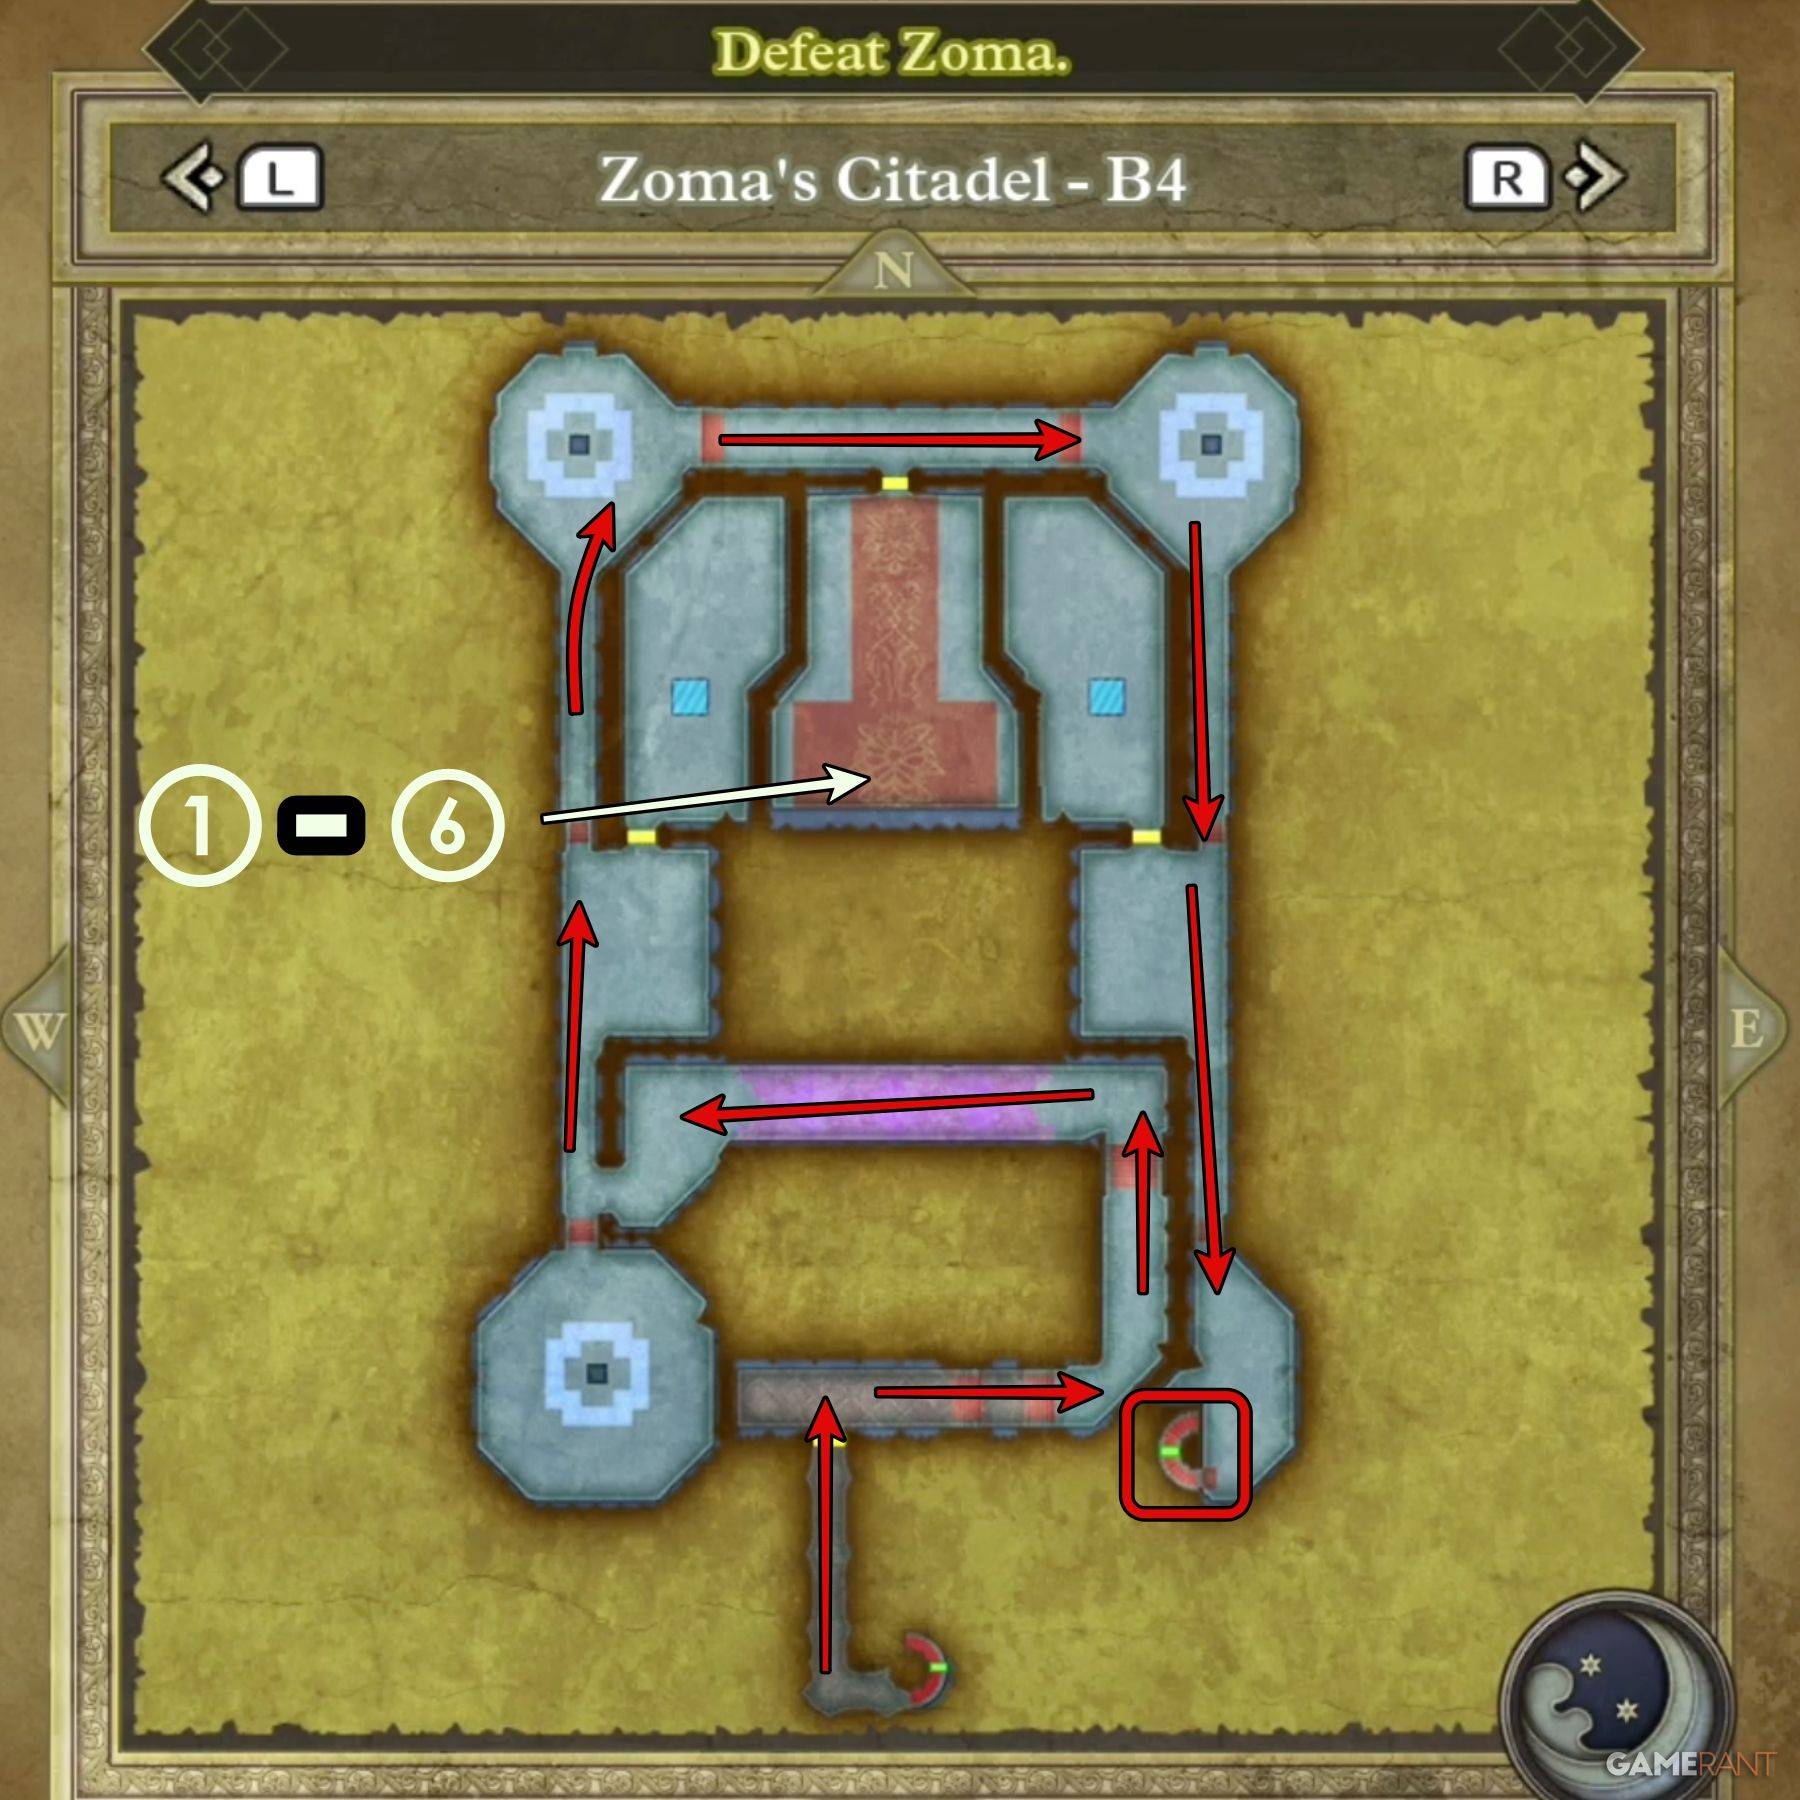
Navigate this final floor before facing Zoma. A key cutscene awaits upon entry. Six chests are located in a single chamber:
- Treasure 1 (Chest): Shimmering Dress
- Treasure 2 (Chest): Prayer Ring
- Treasure 3 (Chest): Sage's Stone
- Treasure 4 (Chest): Yggdrasil Leaf
- Treasure 5 (Chest): Diamond
- Treasure 6 (Chest): Mini Medal
Defeating Zoma and His Minions
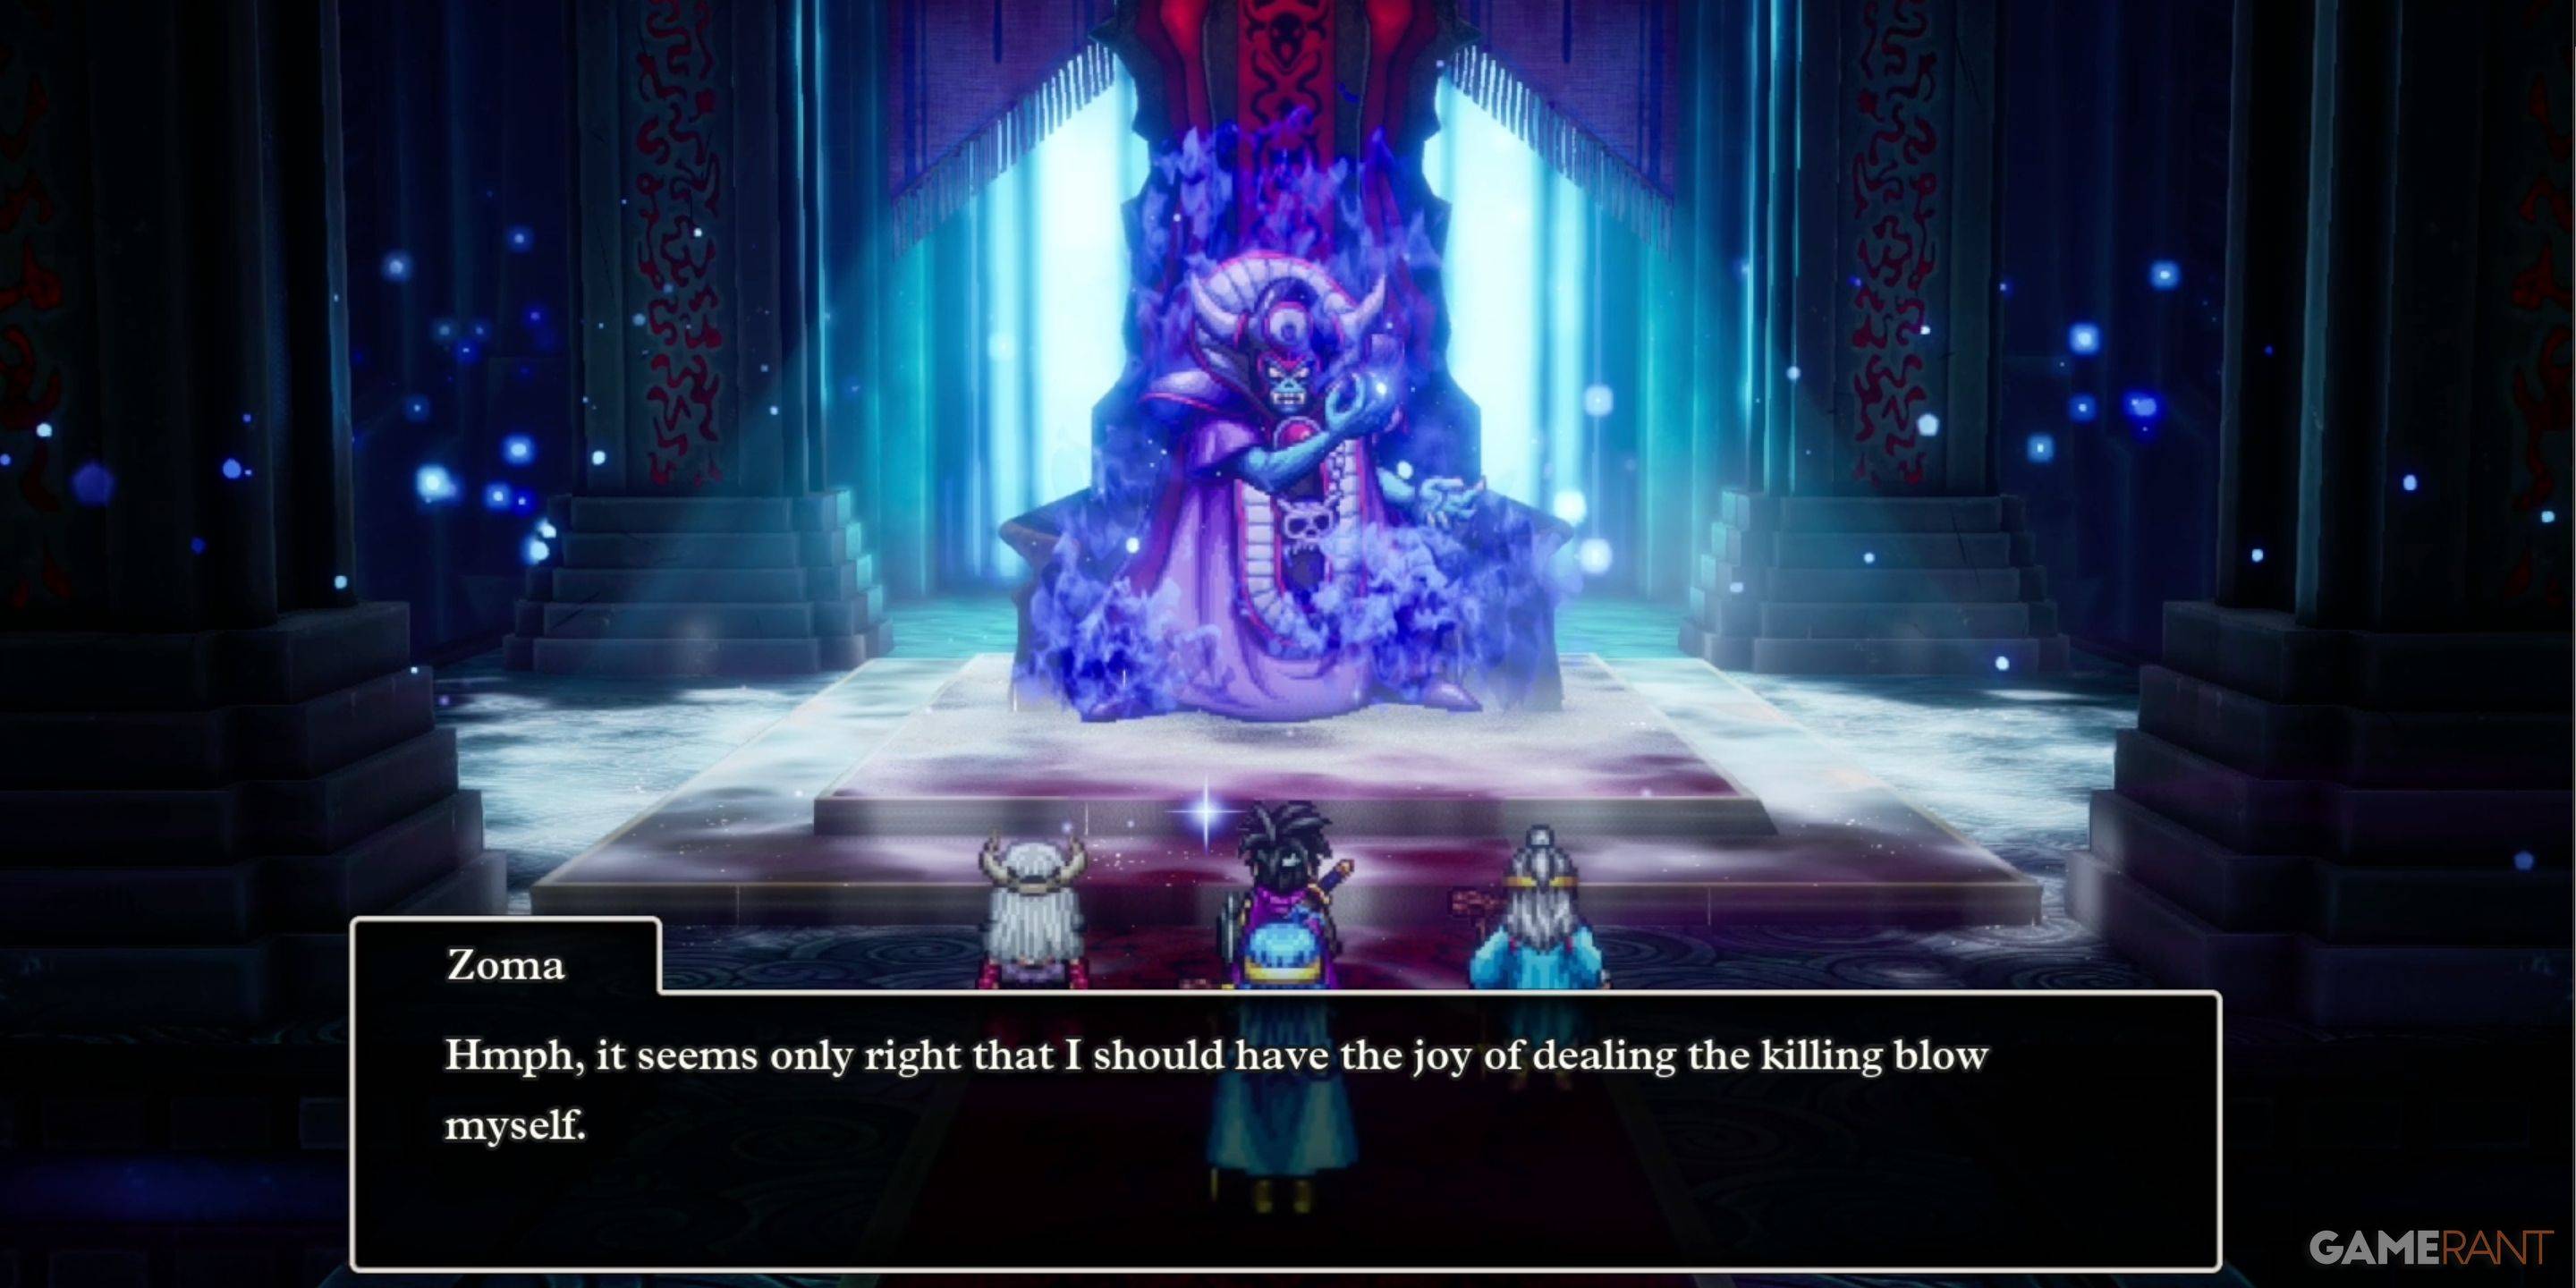
The final battle is a gauntlet: King Hydra, Soul of Baramos, Bones of Baramos, then Zoma. Utilize items between each fight.
- King Hydra: Vulnerable to Kazap. Aggressive tactics are effective.
- Soul of Baramos: Weak to Zap attacks. Use strategies from the previous encounter.
- Bones of Baramos: Similar weaknesses to the Soul. Prioritize healing.
- Zoma: Initially shielded against magic. Wait for the Sphere of Light prompt to remove the barrier. Exploit his weakness to Zap attacks after the barrier is down. Prioritize strategic play over aggression; healing and revives are crucial.
Monster List
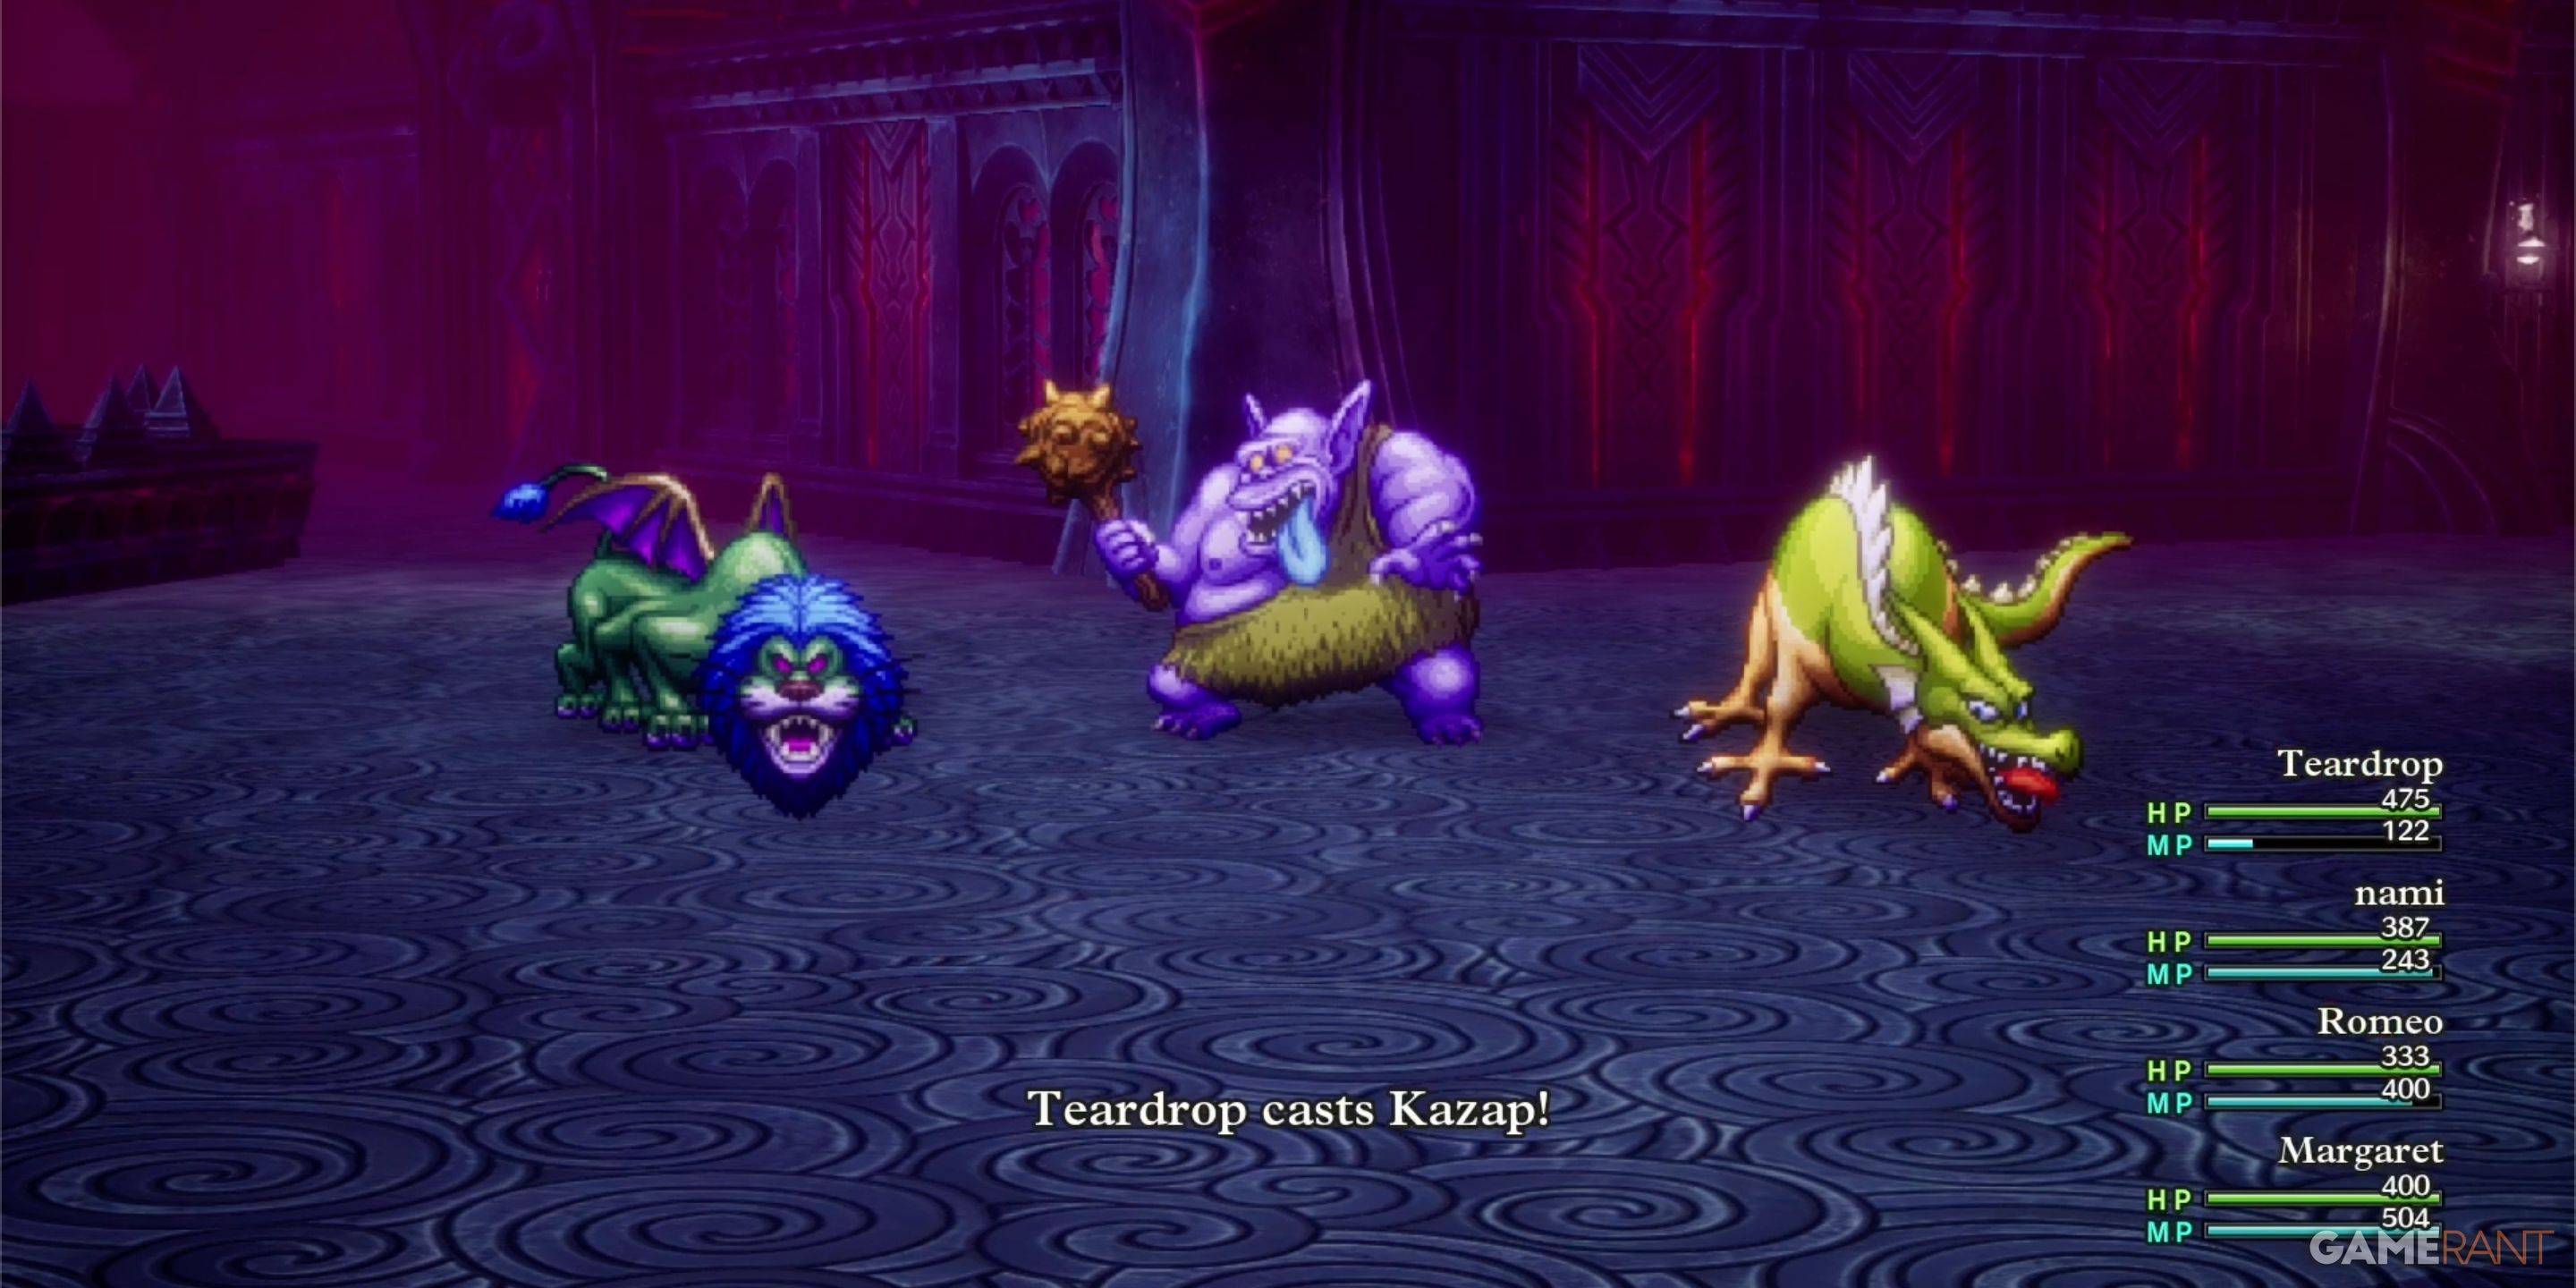
| Monster Name | Weakness |
|---|---|
| Dragon Zombie | None |
| Franticore | None |
| Great Troll | Zap |
| Green Dragon | None |
| Hocus-Poker | None |
| Hydra | None |
| Infernal Serpent | None |
| One-Man Army | Zap |
| Soaring Scourger | Zap |
| Troobloovoodoo | Zap |
This detailed guide will help you successfully navigate Zoma's Citadel and emerge victorious! Remember to adapt strategies based on your party composition and equipment.
Latest Articles
Lego's $1,000 Star Wars Death Star Emerges in Leak
Leaked images seem to confirm a massive new LEGO Death Star set, rumored to contain 9,023 pieces, cost $1,000, and release this October.Instead of presenting the full spherical battle station, this version offers a cross-section view to highlight the
GTA 6 Excludes PC at Launch
Take-Two Interactive CEO Strauss Zelnick discussed the company's strategy for launching games across multiple platforms, with Grand Theft Auto VI being the primary focus. He acknowledged that delaying the PC version of GTA 6 will likely mean forgoing
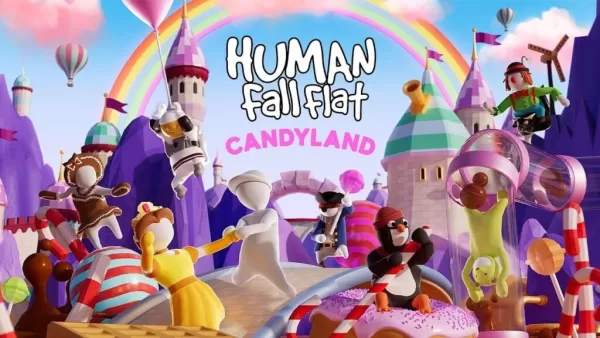
Candyland Update Unveils Sweet New Level for Human Fall Flat Mobile
Human Fall Flat Mobile introduces a delightful new level, Candyland, available today on Android and iOS. It’s accessible via Google Play Pass, with Apple Arcade support coming soon, and marks its debu
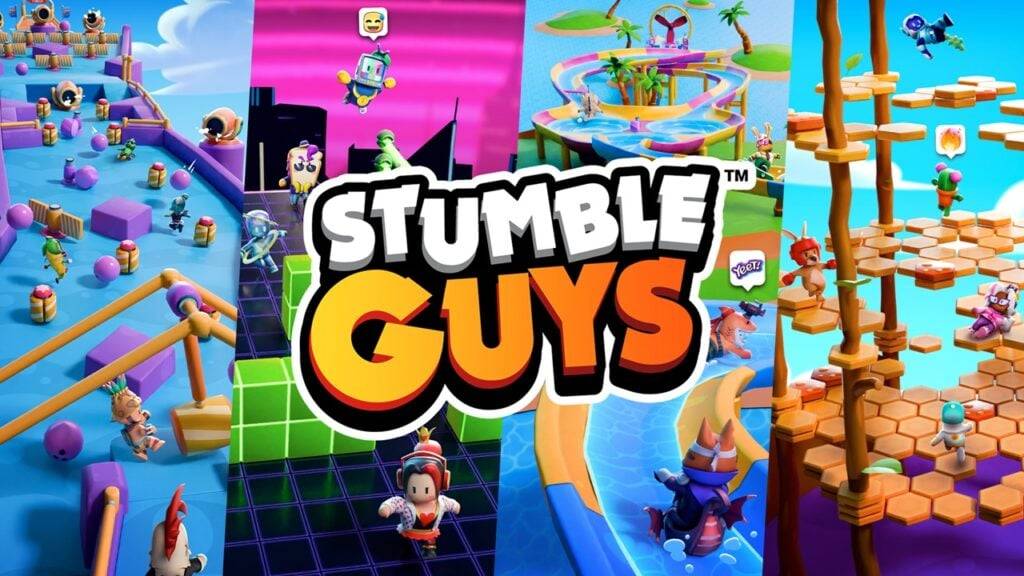
Stumble Guys Launches 4v4 Custom Map Mode
Stumble Guys marks its first anniversary on consoles with thrilling festivities beyond just platforms. Expect explosive rockets, vibrant neon lights, and exciting new gameplay elements! Scopely's latest update introduces a brand-new 4v4 team mode to
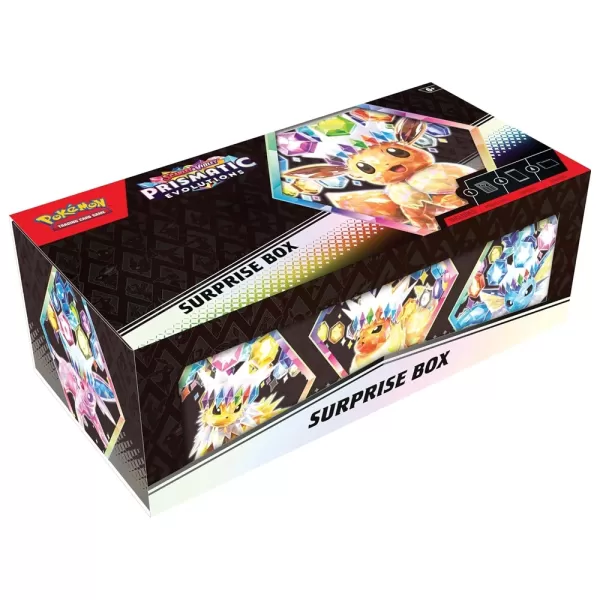
Pokémon TCG Prismatic Evolutions Back on Amazon
Amazon has restocked Pokémon TCG: Prismatic Evolutions Surprise Boxes today at $59.99. The burning question remains - is this premium price justified?The TCG community remains divided between MSRP purists ($22.99) and collectors willing to pay "marke
Warhammer 40K's Terminus Decree Mystery Solved in New Codex
It remains one of Warhammer 40K's most enduring enigmas—until now. Through a freshly released codex, Games Workshop has unveiled the long-debated truth behind the Terminus Decree—a revelation that's left some veteran lore enthusiasts wishing they'd n
Latest Games

Поле Чудес Навсегда
Trivia丨73.0 MB
(CBT) Ragnarok: Monster World
Strategy丨606.1 MB

Maps of All Countries Geo-Quiz
Trivia丨18.4 MB
Call of Dragons - Funtap
Strategy丨1.3 GB

Crush Stories Mod
Casual丨298.48M


Link Words Connect
Trivia丨26.1 MB
Squad Fire Gun Games - Battleg
Word丨83.6 MB
Trending Games
MORE +


Top News
MORE +

01
12-10
Civilization's Rebirth: Pre-Register for After Inc
Ndemic Creations, the studio behind the acclaimed Plague Inc., is launching a new game: After Inc. This game shifts the focus from unleashing devastating plagues to the monumental task of rebuilding civilization after the Necroa Virus, the notoriously challenging undead-creating disease from Plague
02
01-21
Final Fantasy Updates Fix Controller Glitch
Patches for Final Fantasy VII Remake are now available on Steam, the Epic Games Store, and PlayStation 5. This update resolves issues with controller vibration motors. The game follows Cloud Strife, a former SOLDIER, as he joins Avalanche to prevent Shinra Electric Power Company from destroying th
03
04-18
"Jurassic World Rebirth Trailer Unveils Dinosaur Chaos Before Summer Release"
Jurassic World Rebirth made a roaring entrance during Super Bowl Sunday with a special trailer that showcased even more dinosaur action in anticipation of its July 2025 premiere. The latest footage features stars Scarlett Johansson and Mahershala Ali, who initially capture the audience's attention b
04
12-12
Immersive Adventure Awaits in 'In the Turquoise Moonglow' Update for Wuthering Waves
Wuthering Waves Version 1.2 Update: A Sneak Peek at "In the Turquoise Moonglow"
Get ready, Wuthering Waves players! Kuro Games is launching Phase One of the highly anticipated Version 1.2 update on August 15th. A new trailer reveals exciting additions, including a fresh Resonator, new weapons, ques
05
05-14
"Star Wars: Zero Company Unveiled by Respawn and Bit Reactor This Weekend"
Following a minor leak last week, EA has officially unveiled the title and development team behind its upcoming Star Wars game. Titled Star Wars: Zero Company, this exciting new addition to the Star Wars universe is being crafted by the newly-formed studio Bit Reactor, with backing from Lucasfilm Ga
Topics
More +