Updated Kraken Guide: Full Dead Sails Strategy
Author : Patrick
May 16,2025
If you enjoyed Dead Rails on sails, you're in for a treat with the latest update of Dead Sails, despite its challenges. Mastering the Seven Seas and defeating the formidable Kraken might seem daunting, but fear not—no trial and error here. I've crafted this comprehensive Dead Sails Kraken guide to navigate you through the new content, accelerate your progress, and crank up the fun factor.
Recommended Videos
Table of contents
- Dead Sails Kraken Boss Guide
- Dead Sails Kraken Tips And Tricks
- How to Defeat the Kraken Boss in Dead Sails
Dead Sails Kraken Boss Guide
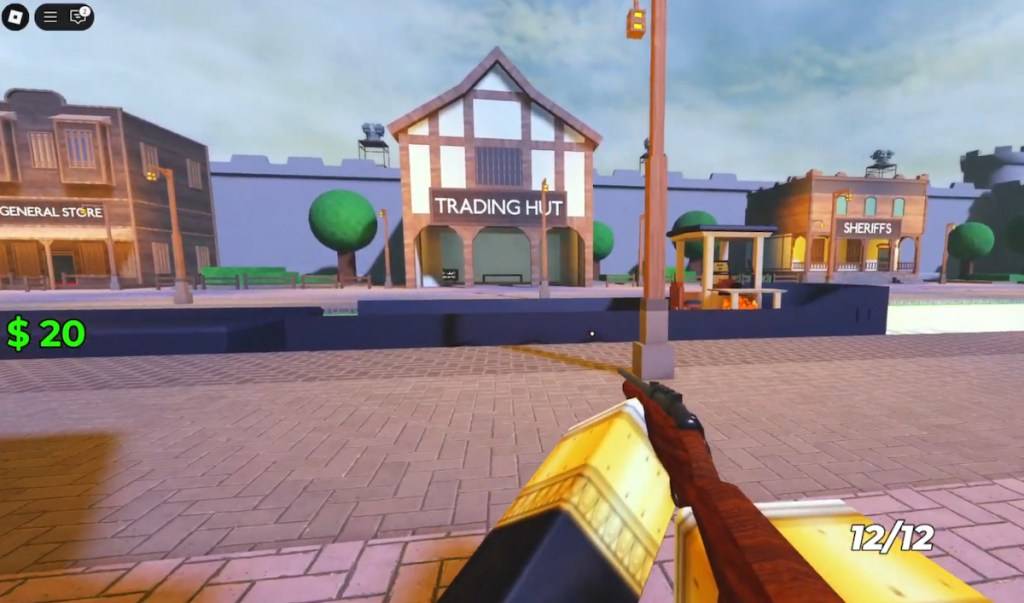
Your journey begins in the heart of town, right across from the Gun Store and Hospital, and in front of the Trading Hut. Start by shedding any unnecessary loot and gearing up. A Rifle is a solid choice here; priced at just $75, it packs enough punch to fend off most enemies, at least temporarily. Don't forget to stock up on coal to power your boat's old-school engine.
 Screenshot by Destructoid
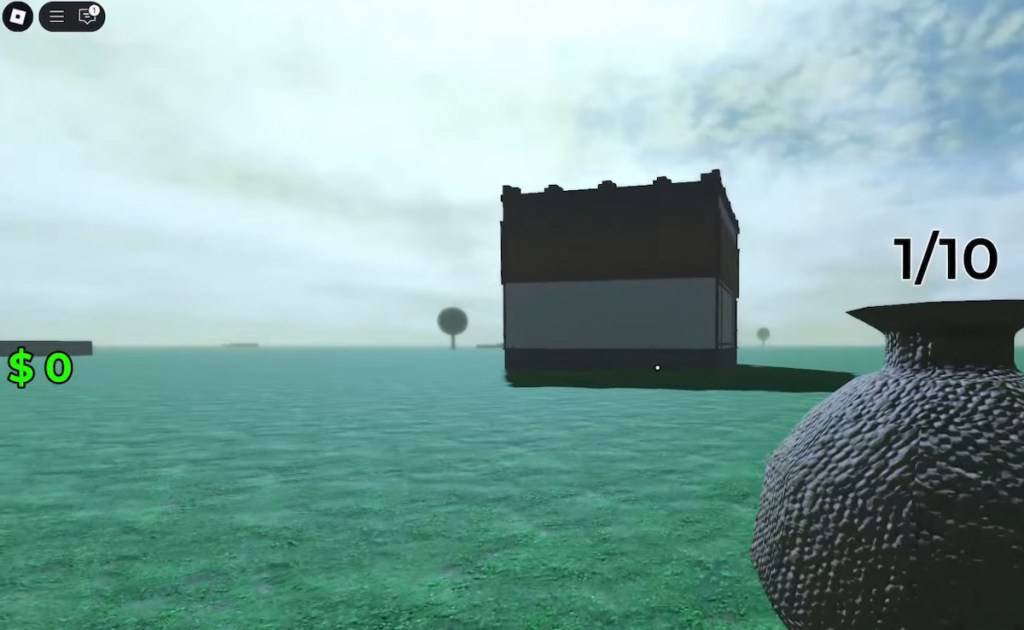
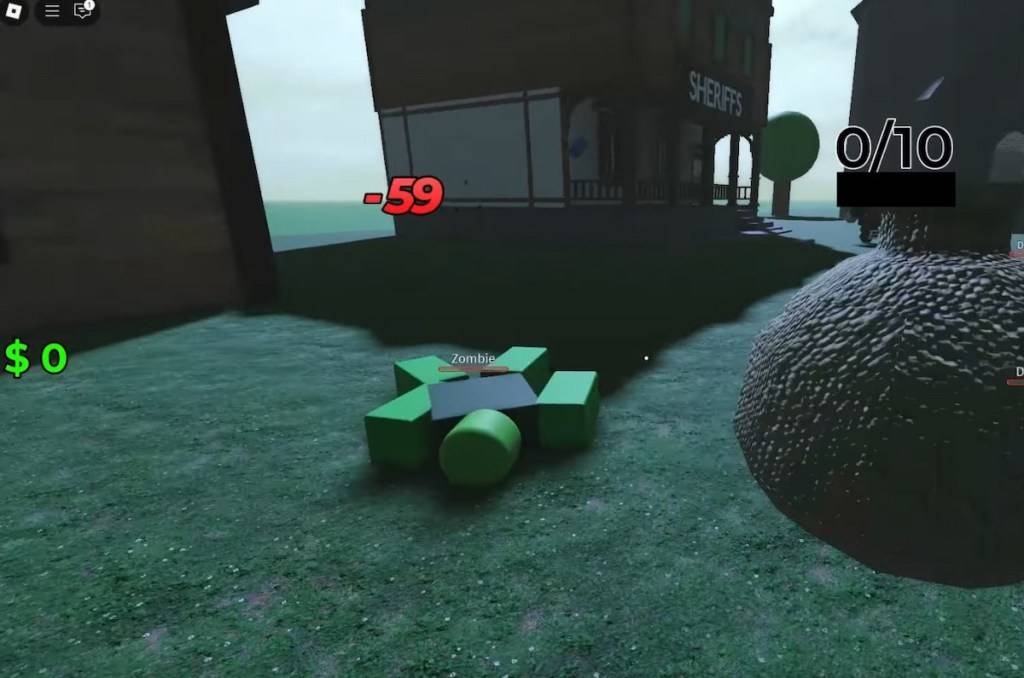
Your next destination is 10,000 meters away. Simply start your boat and you're on your way. You can stop to take out and loot Zombies and Drowned, but it's not highly recommended due to the sparse valuables in the side houses. To restart your ship, just add more coal. Ignore the worm on the right side for now. Wait until you reach the second safe zone to sell your loot, and be cautious of Big Foot and Zombie mobs along the riverbanks.
 Screenshot by Destructoid
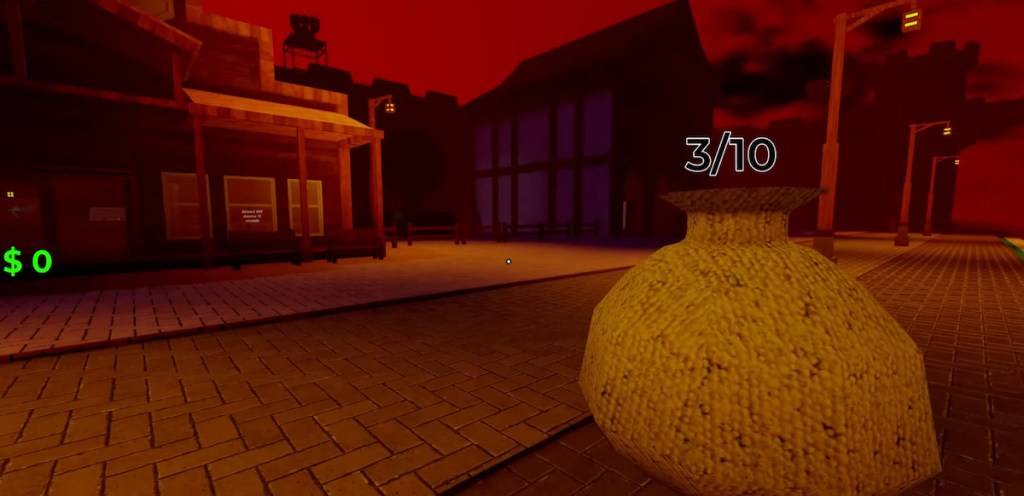
After the second safe zone, you'll encounter burning buildings teeming with mobs. Clear them out if you're with friends, but solo players might find it a waste of time due to scattered spawn points. Around the 12,000-meter mark, you'll find a castle-like house packed with Drowned and valuable loot like Shotgun ammo. Use it wisely.
 Screenshot by Destructoid
Dead Sails Kraken Tips And Tricks
By now, you're familiar with the gameplay loop: kill, loot, repeat, and hope for enemy defeat. To elevate your game, focus on efficiency by using the boat as your primary inventory. Empty your bag when you return to save time and space.
 Screenshot by Destructoid
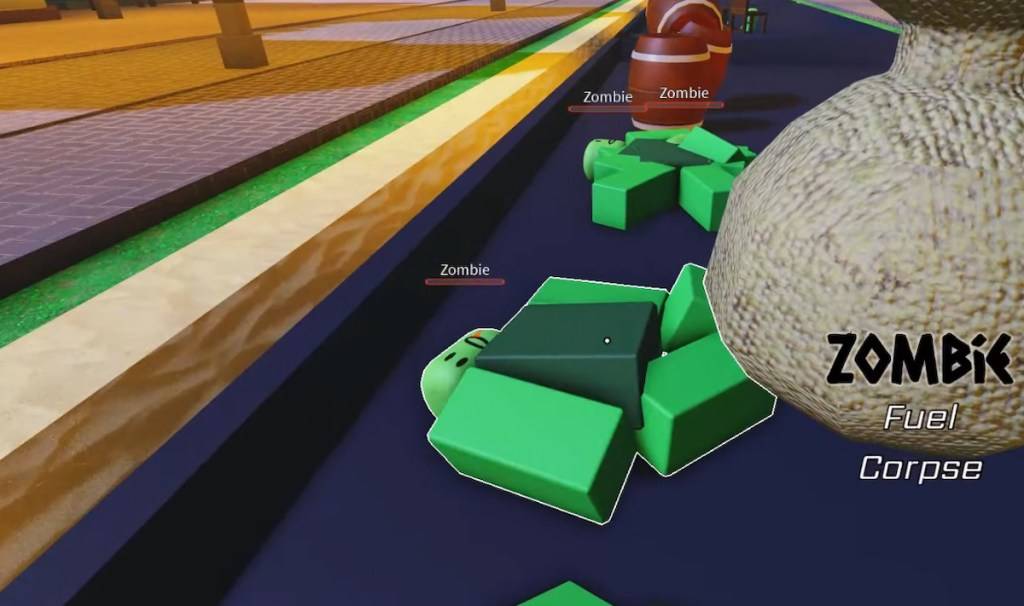
A key strategy I found useful for this Dead Sails Kraken guide is stacking Zombies near the incinerator. Although you might be eager to leave those backwater towns, efficient loot stacking will pay off. Running low on fuel? Just toss a few Zombies in and you're set.
 Screenshot by Destructoid
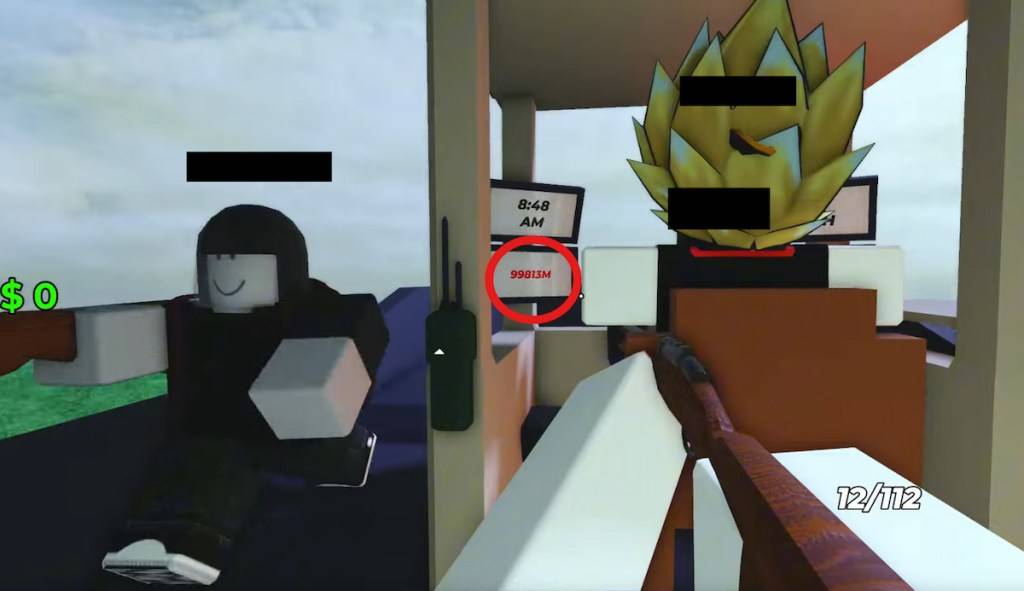
Another tip: be vigilant in Sheriff's offices. They often harbor a higher concentration of mobs but offer rewarding loot, including weapons and ammo. I was able to sustain my shotgun by having a friend clear the ground floor while we explored each town.
 Screenshot by Destructoid
Conserve your ammo, weapons, fuel, and medkits for the fortress at around 25,000 meters. It's still under construction, making it vulnerable to ambushes. I recommend tackling this with at least three people, ideally five. Be efficient in picking up loot.
 Screenshot by Destructoid
Avoid engaging Big Feet after 30,000 meters. They're tough, hit hard, and require a lot of ammo to take down safely. Don't linger too long at stops; remember, not all loot is worth it.
The town beyond 50,000 meters is a prime farming spot with numerous Drowned and Zombies. If you have friends with Shotguns or Sawn-offs, it's a great place to gather corpses for fuel. Coordinate with your team to prepare bodies for loading quickly.
How to Defeat the Kraken Boss in Dead Sails
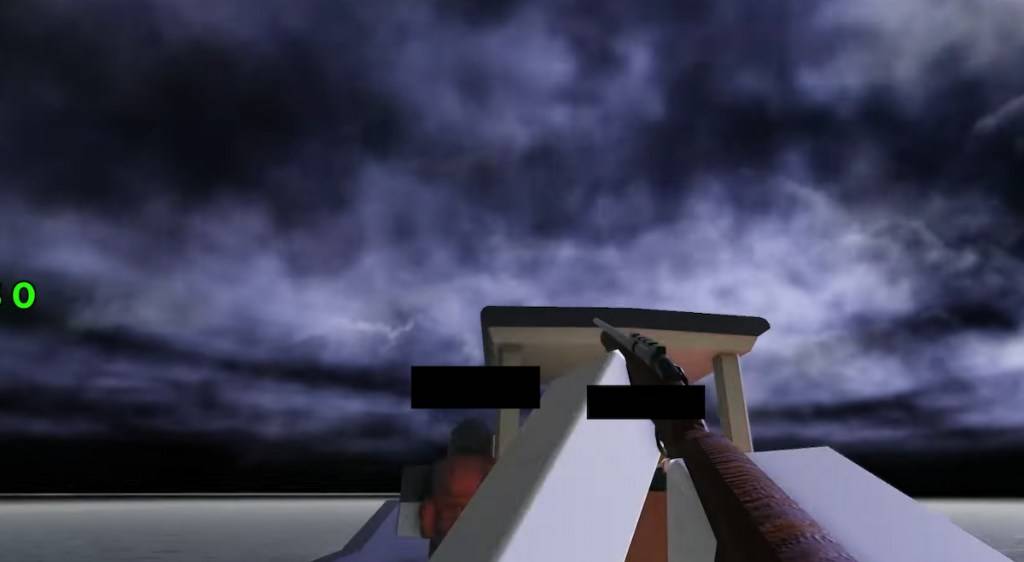
In the final safe zone, sell everything you have and stock up on ammo, weapons, and medkits. Don't underestimate the Zombies and Drowned; maintain a stash of at least 8-10 corpses for fuel during this crucial part of the Dead Sails Kraken guide. As you approach 100,000 meters, you'll reach open waters, ready to confront the beast. The sign of its approach is the darkening skies.
 Screenshot by Destructoid
 Screenshot by Destructoid
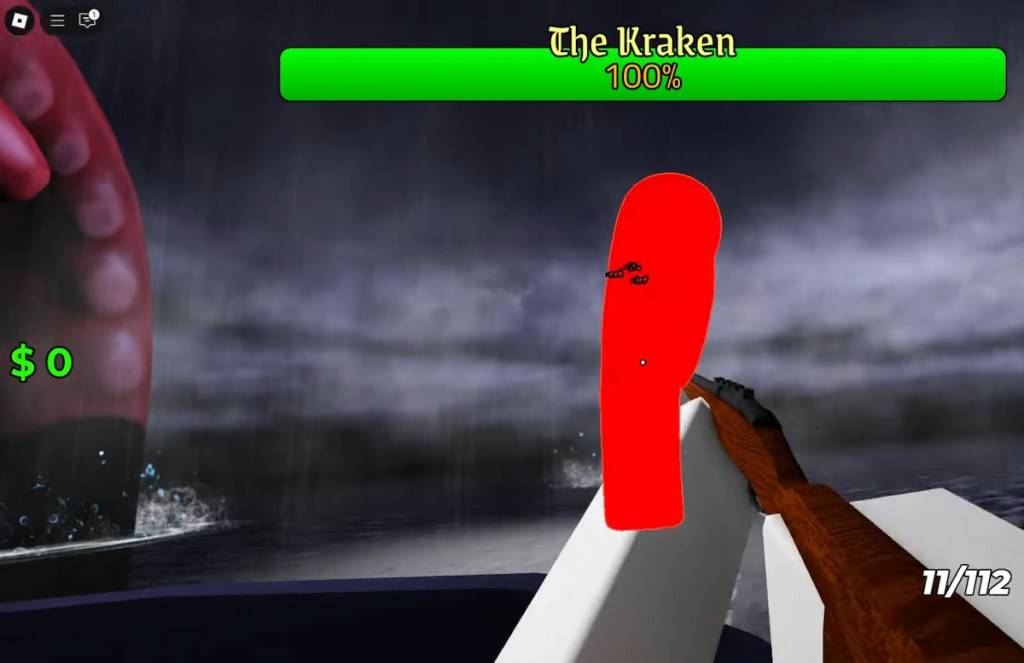
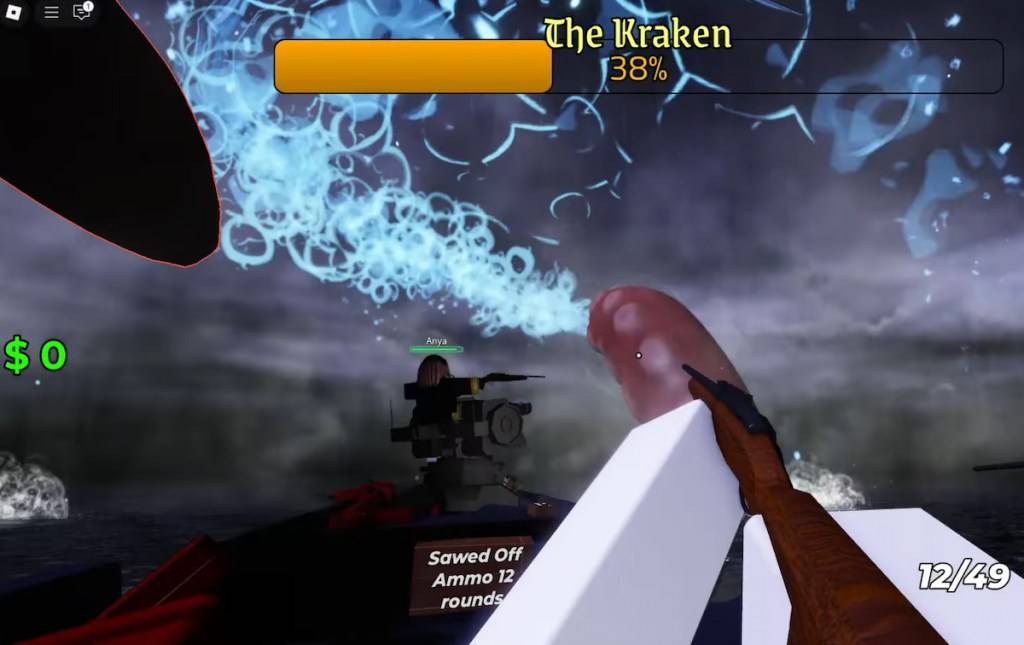
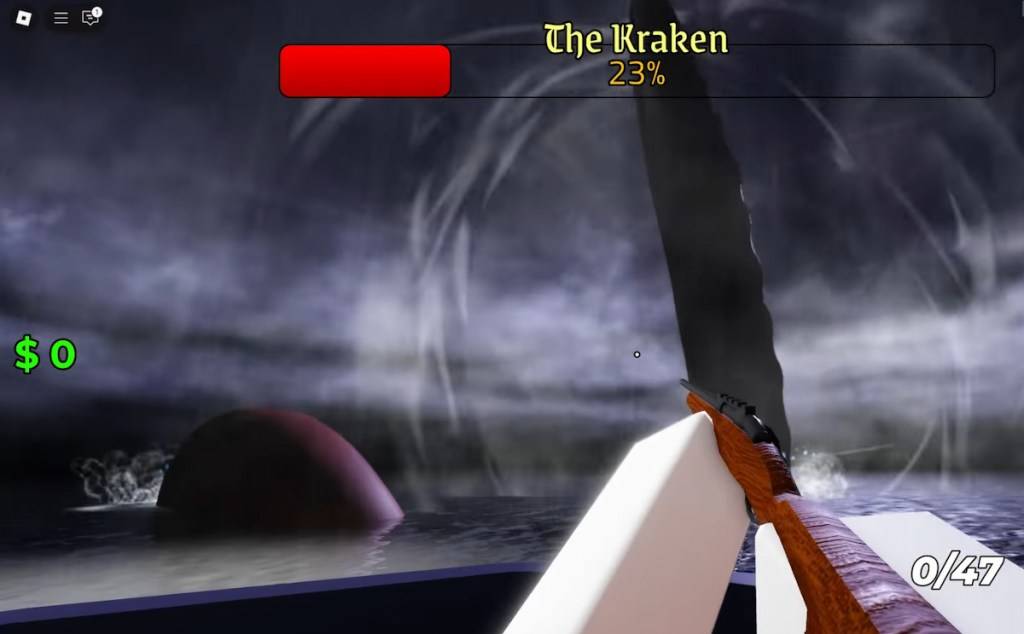
When the Kraken emerges, the camera will zoom out. Immediately, EVERYONE MUST PICK a tentacle. The boss has substantial health, and each tentacle must be repelled to avoid damage. If you have five players, form a pentagram-like shape and focus on your individual targets.
 Screenshot by Destructoid
Watch out for the water splash ability, which causes AoE damage and is signaled by the Kraken winding back and creating a water trail with its tentacle. Use medkits liberally here, as some damage is unavoidable.
 Screenshot by Destructoid
Finally, be cautious of the Roar AoE, which inflicts minor damage that's unblockable and appears to slightly boost the boss's damage. You'll see it coming from white concentric circles emanating from the tentacle that used the ability.
 Screenshot by Destructoid
As you can see, it's not as hard as it seems. That wraps up my Dead Sails Kraken Guide. To conquer the boss even faster, grab one of our Dead Sails codes and see how quickly you can progress. Good luck and smooth sailing!
Latest Articles

Pokemon Vending Machines: What's Inside and Locations
If you're a Pokemon fan active on social media, you've likely encountered conversations about Pokemon vending machines. As The Pokemon Company expands their rollout across the United States, fans have questions – and we have the answers.What Are Poke

Hatsune Miku Enters Toram Online MMORPG
Hatsune Miku enters the world of Toram OnlineExclusive collaboration outfits and avatars availableEvent start date: January 30thAsobimo, Inc. has revealed a new collaboration event for Toram Online, featuring the virtual pop sensation Hatsune Miku. T
World of Tanks Blitz to collab with AMC\'s TV version of The Walking Dead
The Walking Dead arrives in World of Tanks Blitz for a spine-chilling crossover eventThe adventure begins with Daryl Dixon leading the All Out War event, featuring exclusive collaboration rewardsDive into quests starring series icon Negan and experie
Godzilla Roars Into PUBG Mobile Battle
PUBG Mobile introduces Godzilla in its latest limited-time eventExclusive cosmetic collections featuring the iconic monster and his legendary rivals are now availableBattle alongside miniature Burning Godzilla and King Ghidorah companions through the

Play Together Unveils Massive In-Game Dinosaur Park
Haegin's latest update for Play Together unleashes a Dinosaur Park, transforming Kaia Island's favorite Camping Ground into a prehistoric paradise. Immerse yourself in a lush jungle setting filled with fossils, DNA experiments, and exciting events.Di

Rory McCann Stars as Baylan Skoll in Ahsoka Series
Star Wars Celebration has unveiled our first glimpse of Rory McCann in the role of Baylan Skoll for Ahsoka Season 2. For context, McCann is stepping into the part following the passing of Ray Stevenson.Though we haven't seen McCann's performance yet,
Latest Games

Squad Alpha - Action Shooting
Action丨598.77M


Hitomi's Sick Pleasure
Casual丨597.60M
Ghoul Slot SE
Card丨9.90M

1000 words
Puzzle丨39.60M


Dragon Wings - Space Shooter
Action丨139.90M
Trending Games
MORE +


Top News
MORE +

01
01-16
Zenless Zone Zero Confirms Version 1.5 Special Program Livestream Date and Time
SummaryZenless Zone Zero revealed the start date for Version 1.5 "Astra-nomical Moment" on January 10 at 19:30 (UTC+8).Version 1.5 plans to add S-Rank characters Astra Yao and Evelyn Chevalier.Not much else is known about Version 1.5, though recent leaks have teased plenty of new content and events
02
01-21
Final Fantasy Updates Fix Controller Glitch
Patches for Final Fantasy VII Remake are now available on Steam, the Epic Games Store, and PlayStation 5. This update resolves issues with controller vibration motors. The game follows Cloud Strife, a former SOLDIER, as he joins Avalanche to prevent Shinra Electric Power Company from destroying th
03
04-18
"Jurassic World Rebirth Trailer Unveils Dinosaur Chaos Before Summer Release"
Jurassic World Rebirth made a roaring entrance during Super Bowl Sunday with a special trailer that showcased even more dinosaur action in anticipation of its July 2025 premiere. The latest footage features stars Scarlett Johansson and Mahershala Ali, who initially capture the audience's attention b
04
12-12
Immersive Adventure Awaits in 'In the Turquoise Moonglow' Update for Wuthering Waves
Wuthering Waves Version 1.2 Update: A Sneak Peek at "In the Turquoise Moonglow"
Get ready, Wuthering Waves players! Kuro Games is launching Phase One of the highly anticipated Version 1.2 update on August 15th. A new trailer reveals exciting additions, including a fresh Resonator, new weapons, ques
05
04-24
"Dune: Awakening Delay Extended by Three Weeks for Beta-Inspired Changes"
Dune: Awakening, the highly anticipated open-world survival MMO inspired by Frank Herbert's iconic sci-fi novels and Denis Villeneuve's films, has been pushed back to a new release date of June 10, 2025. Funcom, the game's developer, announced this delay alongside an exciting early access opportunit
Topics
More +