How To Enable SSH On The Steam Deck
Author : Finn
Feb 21,2025
This guide explains how to enable and use SSH on your Steam Deck for remote access to your files. The Steam Deck's desktop mode allows for more than just gaming, enabling remote file access is a valuable feature.
Enabling SSH on Your Steam Deck
 Follow these steps to enable SSH:
- Power on your Steam Deck.
- Access the Steam menu (Steam button).
- Navigate to
Settings > System > System Settings > Enable Developer Mode. - Return to the Steam menu.
- Select
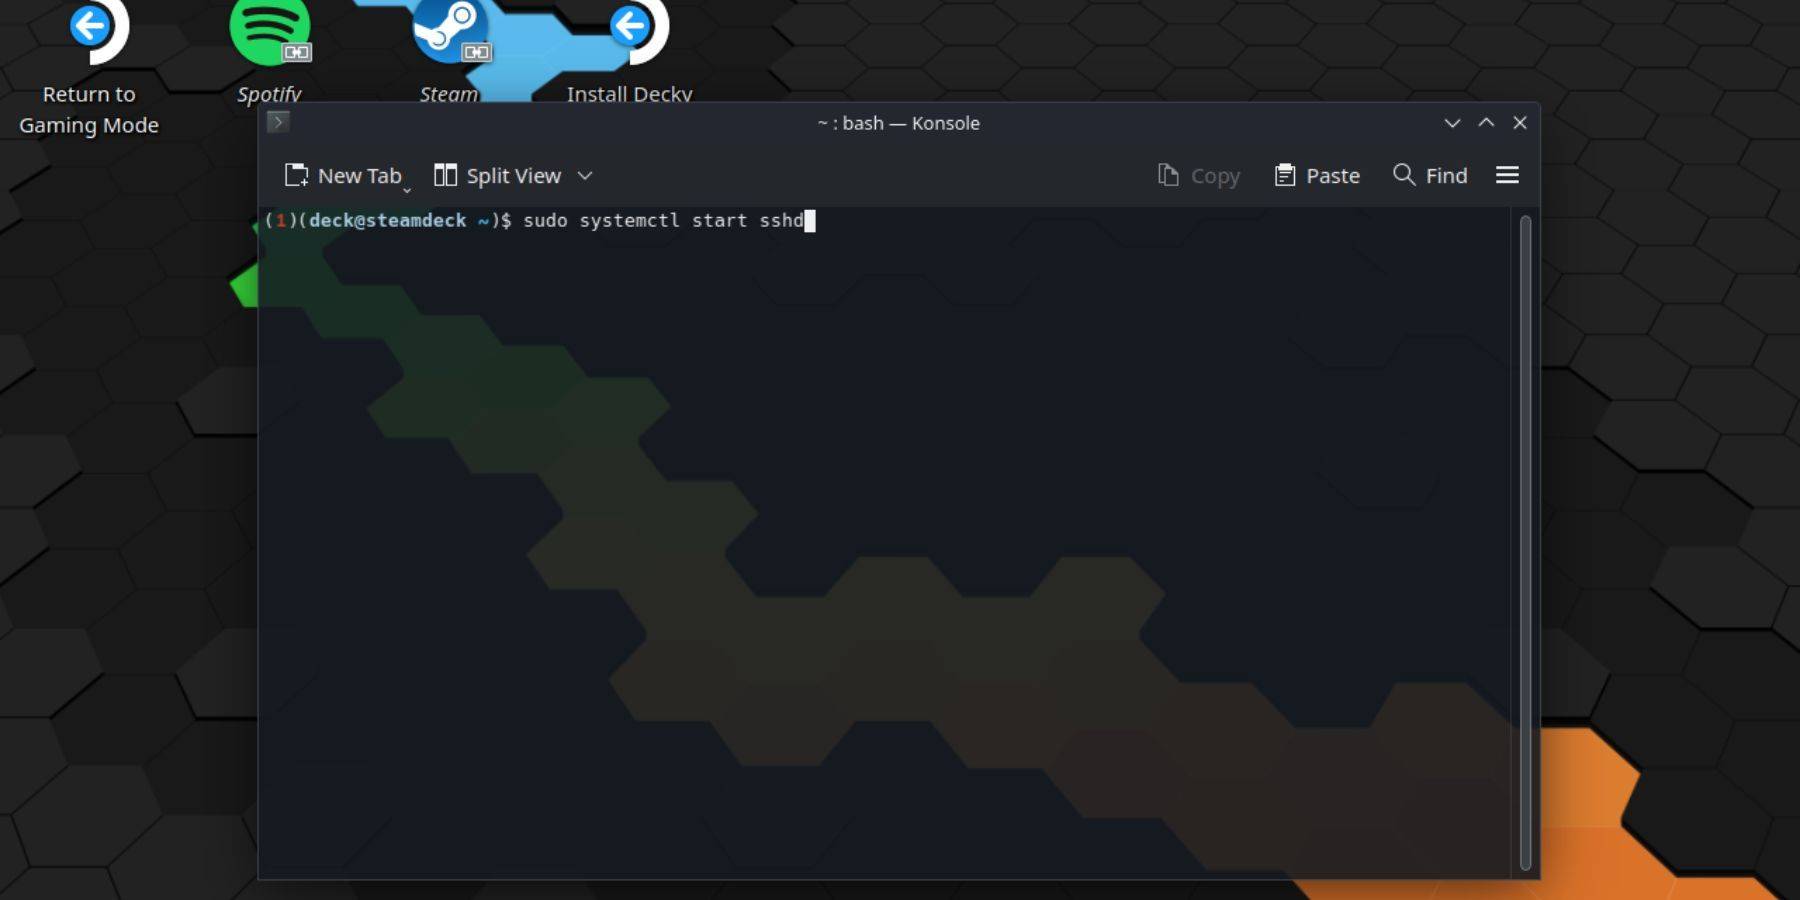
Power > Switch to Desktop Mode. - Open Konsole from the Start Menu.
- Set a password (if you haven't already) using the command:
passwd. - Enable SSH using:
sudo systemctl start sshd. - To ensure SSH starts after a reboot, use:
sudo systemctl enable sshd. - You can now access your Steam Deck remotely using a third-party SSH client.
Caution: Avoid modifying or deleting system files to prevent OS corruption.
Disabling SSH on Your Steam Deck
To disable SSH:
- Open Konsole from the Start Menu.
- Use
sudo systemctl disable sshdto prevent SSH from starting automatically on reboot. To immediately stop SSH, usesudo systemctl stop sshd.
Connecting to Your Steam Deck via SSH
 Once SSH is enabled, you can use a third-party client like Warpinator. Install Warpinator on both your Steam Deck and your PC, then launch it on both devices simultaneously for easy file transfer.
Alternatively, if you're using a Linux PC, you can connect directly through your file manager. Enter sftp://deck@steamdeck in the address bar and provide the password you set earlier.

Latest Articles

Candyland Update Unveils Sweet New Level for Human Fall Flat Mobile
Human Fall Flat Mobile introduces a delightful new level, Candyland, available today on Android and iOS. It’s accessible via Google Play Pass, with Apple Arcade support coming soon, and marks its debu
Stumble Guys Launches 4v4 Custom Map Mode
Stumble Guys marks its first anniversary on consoles with thrilling festivities beyond just platforms. Expect explosive rockets, vibrant neon lights, and exciting new gameplay elements! Scopely's latest update introduces a brand-new 4v4 team mode to
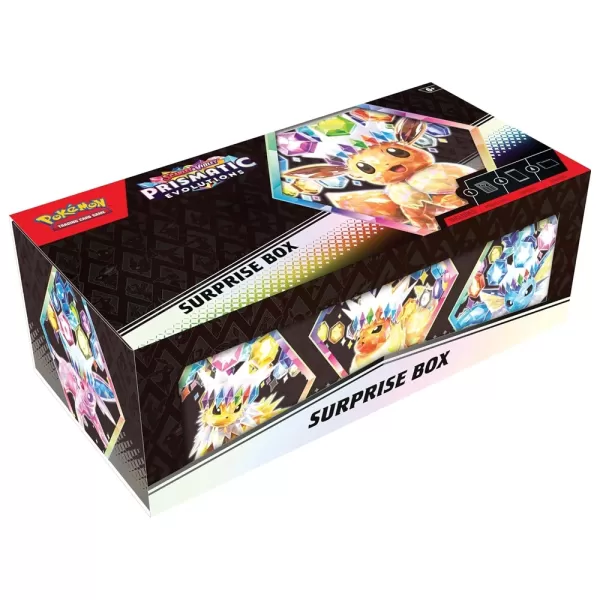
Pokémon TCG Prismatic Evolutions Back on Amazon
Amazon has restocked Pokémon TCG: Prismatic Evolutions Surprise Boxes today at $59.99. The burning question remains - is this premium price justified?The TCG community remains divided between MSRP purists ($22.99) and collectors willing to pay "marke
Warhammer 40K's Terminus Decree Mystery Solved in New Codex
It remains one of Warhammer 40K's most enduring enigmas—until now. Through a freshly released codex, Games Workshop has unveiled the long-debated truth behind the Terminus Decree—a revelation that's left some veteran lore enthusiasts wishing they'd n
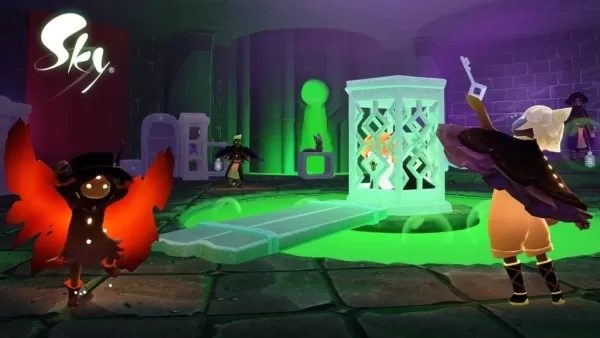
Sky: Children of the Light Relaunches Mischief Halloween Event
Sky: Children of the Light is preparing for this year’s Days of Mischief event, promising even more excitement than before. Since 2019, this annual in-game celebration has brought Halloween thrills to players.What Can You Expect?This year, Days of Mi
Monster Hunter Wilds: Story Key to Success, Producer Says
The series producer suggests that Monster Hunter Wilds' strong focus on narrative is a key driver of its success. Read on for [producer's name]'s insights on the game and details about an upcoming limited-time event.Monster Hunter Wilds Remains a Top
Latest Games


Maps of All Countries Geo-Quiz
Trivia丨18.4 MB

Call of Dragons - Funtap
Strategy丨1.3 GB

Crush Stories Mod
Casual丨298.48M


Link Words Connect
Trivia丨26.1 MB

Squad Fire Gun Games - Battleg
Word丨83.6 MB
Mobile Bus Simulator
Simulation丨78.7 MB

Trending Games
MORE +


Top News
MORE +


01
12-10
Civilization's Rebirth: Pre-Register for After Inc
Ndemic Creations, the studio behind the acclaimed Plague Inc., is launching a new game: After Inc. This game shifts the focus from unleashing devastating plagues to the monumental task of rebuilding civilization after the Necroa Virus, the notoriously challenging undead-creating disease from Plague
02
01-21
Final Fantasy Updates Fix Controller Glitch
Patches for Final Fantasy VII Remake are now available on Steam, the Epic Games Store, and PlayStation 5. This update resolves issues with controller vibration motors. The game follows Cloud Strife, a former SOLDIER, as he joins Avalanche to prevent Shinra Electric Power Company from destroying th
03
04-18
"Jurassic World Rebirth Trailer Unveils Dinosaur Chaos Before Summer Release"
Jurassic World Rebirth made a roaring entrance during Super Bowl Sunday with a special trailer that showcased even more dinosaur action in anticipation of its July 2025 premiere. The latest footage features stars Scarlett Johansson and Mahershala Ali, who initially capture the audience's attention b
04
12-12
Immersive Adventure Awaits in 'In the Turquoise Moonglow' Update for Wuthering Waves
Wuthering Waves Version 1.2 Update: A Sneak Peek at "In the Turquoise Moonglow"
Get ready, Wuthering Waves players! Kuro Games is launching Phase One of the highly anticipated Version 1.2 update on August 15th. A new trailer reveals exciting additions, including a fresh Resonator, new weapons, ques
05
05-14
"Star Wars: Zero Company Unveiled by Respawn and Bit Reactor This Weekend"
Following a minor leak last week, EA has officially unveiled the title and development team behind its upcoming Star Wars game. Titled Star Wars: Zero Company, this exciting new addition to the Star Wars universe is being crafted by the newly-formed studio Bit Reactor, with backing from Lucasfilm Ga
Topics
More +